Ceiling TV Mount - How To Hang a TV From The Ceiling
If you've recently purchased the motorized ceiling TV Wall Mount MI-4223, you’re likely wondering how to mount a TV from the ceiling on your own. The good news is that there’s no need to hire a specialist to mount it for you!
This specialty wall mount is fast and easy to install—all that’s required is some tools and twenty minutes of your time.
Below, we’ll explain everything you need to know about mounting your TV from the ceiling!
How To Hang a TV From The Ceiling?
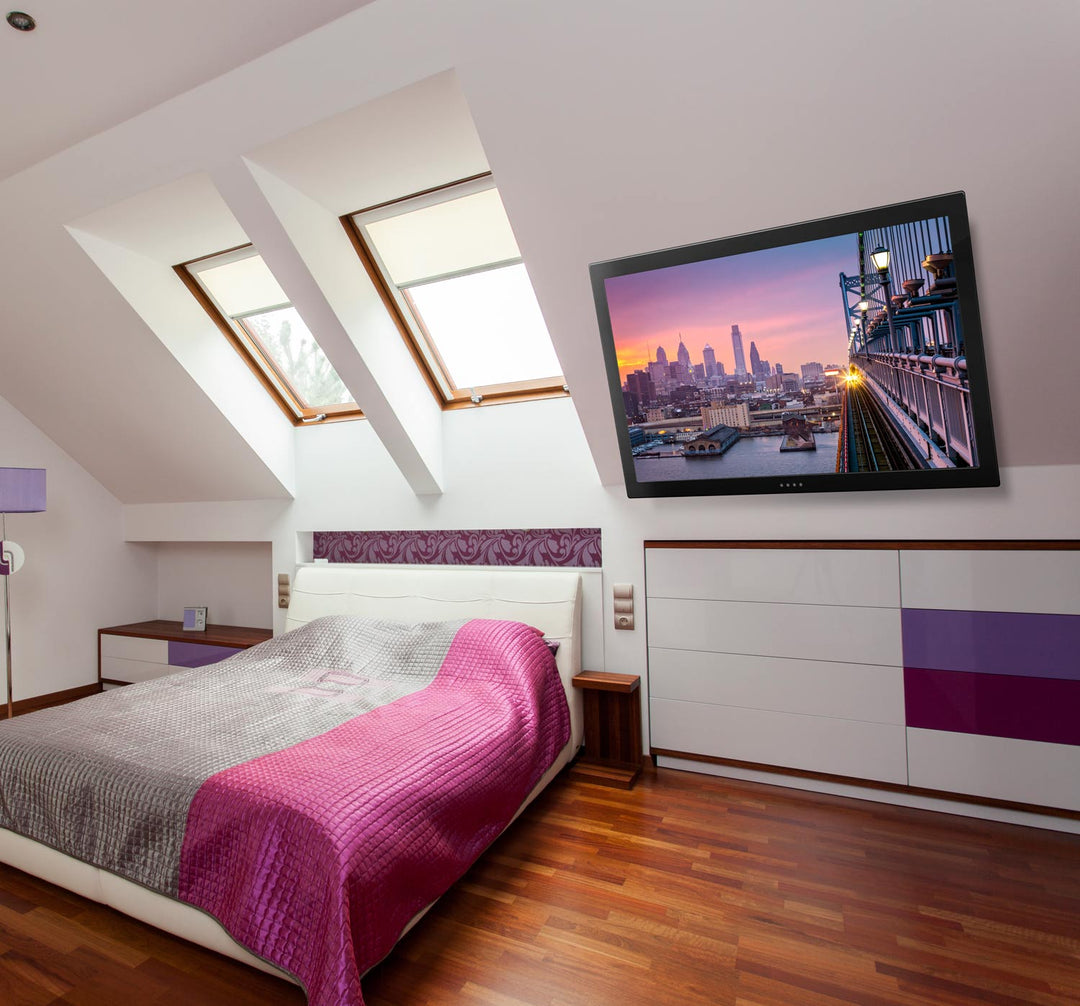
The Mi-4223 is a marvel of technology that fits TVs with a VESA pattern ranging from 100x1000mm to 400x400mm. It can accommodate flat screen TVs of a variety of sizes, all the way up to 55 inches, and is capable of bearing up to 66 pounds of weight. Once installed, it will be able to retract or extend so that the TV is concealed when not in use.
Then, when it’s time to watch, you click the remote control and it flips down for seamless viewing. Learn more about the Benefits Of An Extra Long Arm TV Wall Mount here.
Installation is simple, and it works perfectly on pitched ceilings since it can tilt anywhere from 0 to 75 degrees so you can watch from almost anywhere in the room. In addition, it has four height settings to ensure an optimal fit. That said, before we start mounting the full motion motorized TV mount, there are some tools you’ll require.
Tools You’ll Need
In order to successfully mount this motorized ceiling mount, there are a few items that you’ll need to have on hand. These include:
- An electric drill with a drill head that is longer than 60mm.
- A pencil or pen to mark the spots where drill holes will be made.
- A sturdy ladder capable of reaching your intended location.
- A screwdriver to screw in the various bolts and screws.
The last thing you’ll require is an extra set of hands from a helpful friend or family member. You’ll need their help to ensure your safety on the ladder, to stabilize the mounting plate, and to physically mount the television.
If you must ask for a friend’s assistance, a bribe of pizza and/or beer couldn’t hurt. Realistically, after seeing how great your ceiling mount is, they may want one for themselves; so, you could just offer to help them mount their own when the time comes!
Plus you’ll be a pro by then.
Components
The MI-4223 Motorized Ceiling TV Wall Mount comes with three packages of components, including:
Primary Package:
Package M:
Package W:
Below, as we go about explaining the mounting process, for the sake of simplicity we’ll be occasionally referring to these pieces by their letter signifiers. For example, for the small spacers, we’d say grab one M-H. That said, for proper visualization, you can use the Mi-4223 Manual to supplement the process.
Also, the instructions for the initial base plating may vary depending upon your ceiling type. Therefore, in the beginning, we’ll have separate information for wood and brick/concrete ceiling mounting.
Wooden Ceiling Mounting
If you have a wood ceiling, you’ll need to take the following steps.
Brick and Concrete Ceiling Mount
If your ceiling is brick or concrete, you’ll have to take the following steps:
For more in-depth details, see our blog on how to mount a TV on brick.
VESA Plate Installation
Once the base is ready, you’ll need to attach the VESA plate to the back of your television. Steps for this include:
Hooking the TV onto the Ceiling Mount
Once both the mount and the VESA plate are attached, it’s time to connect the two of them. You’ll require the help of one or two friends to hold the television to ensure everything is properly aligned and your TV is mounted correctly.
Steps to follow are:
Placing the IR Receiver
In order to control the mount using the remote, you’ll need to place the IR receiver on the front frame of the television. To do so, take the following steps:
Using the Remote
The remote is simple and easy to operate. We’ll briefly review the symbols and what they represent:
- Upward arrow – The “in” button moves the mount up and out of view
- Downward arrow – The “out” button lowers the mount into place.
- OK – Stops the machine from moving.
- Memory Buttons 1 and 2 – Saves your desired location. To use it, lower the TV to where you’d like it and then press and hold for 5 seconds. Once you’ve heard the buzzer make two beeps, it’s been saved.
- Buttons 1 and 2 – To go to your memory position, click either 1 or 2 and then press ok and the TV will swivel to the saved location.
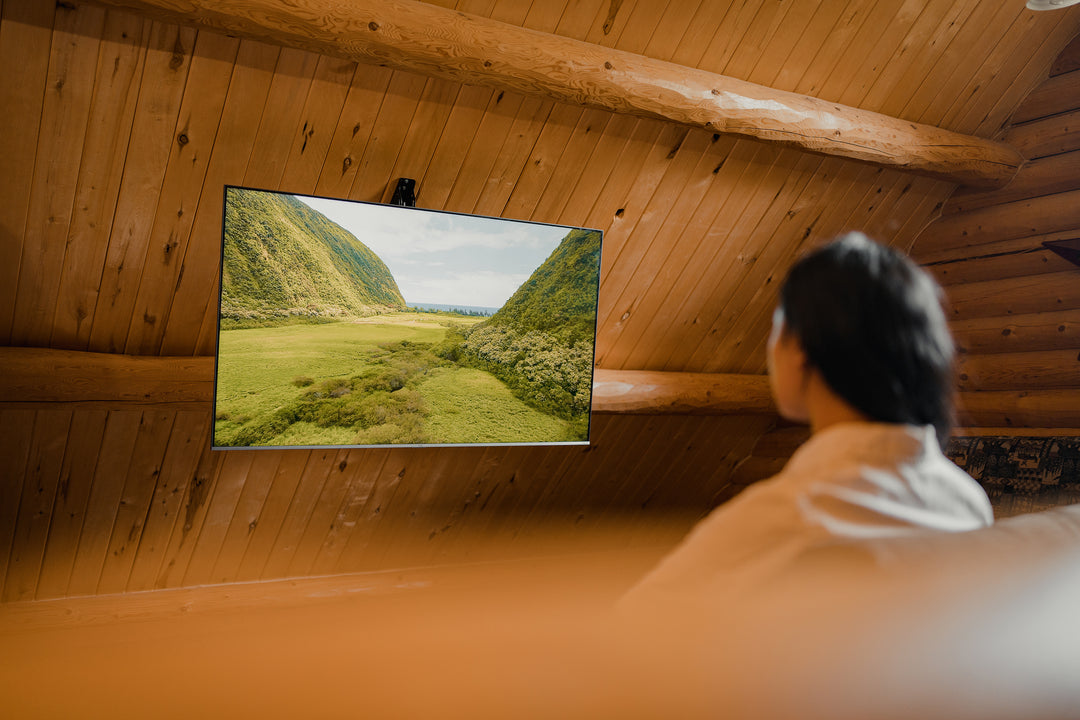
Using Your Ceiling TV Mount
Congrats! You’ve done it. Your TV is mounted and you’re ready to sit back, relax, and enjoy. To enjoy all the benefits of your adjustable mount, see our 5 Creative Ways to Use Your Articulating TV Wall Mount With A Long Arm.
If you have any additional questions or concerns, we encourage you to read the manual or give us a call directly. We’re more than happy to help you troubleshoot!
Sources
Mount-IT! MI-4223 Manual. https://downloads.mount-it.com/pub/media/manuals/MI-4223_manual.pdf
Home Stratosphere. 36 Types of Screws and Screw Heads. https://www.homestratosphere.com/types-of-screws/
WikiHow. How To Ceiling Mount a TV. https://www.wikihow.com/Ceiling-Mount-a-TV


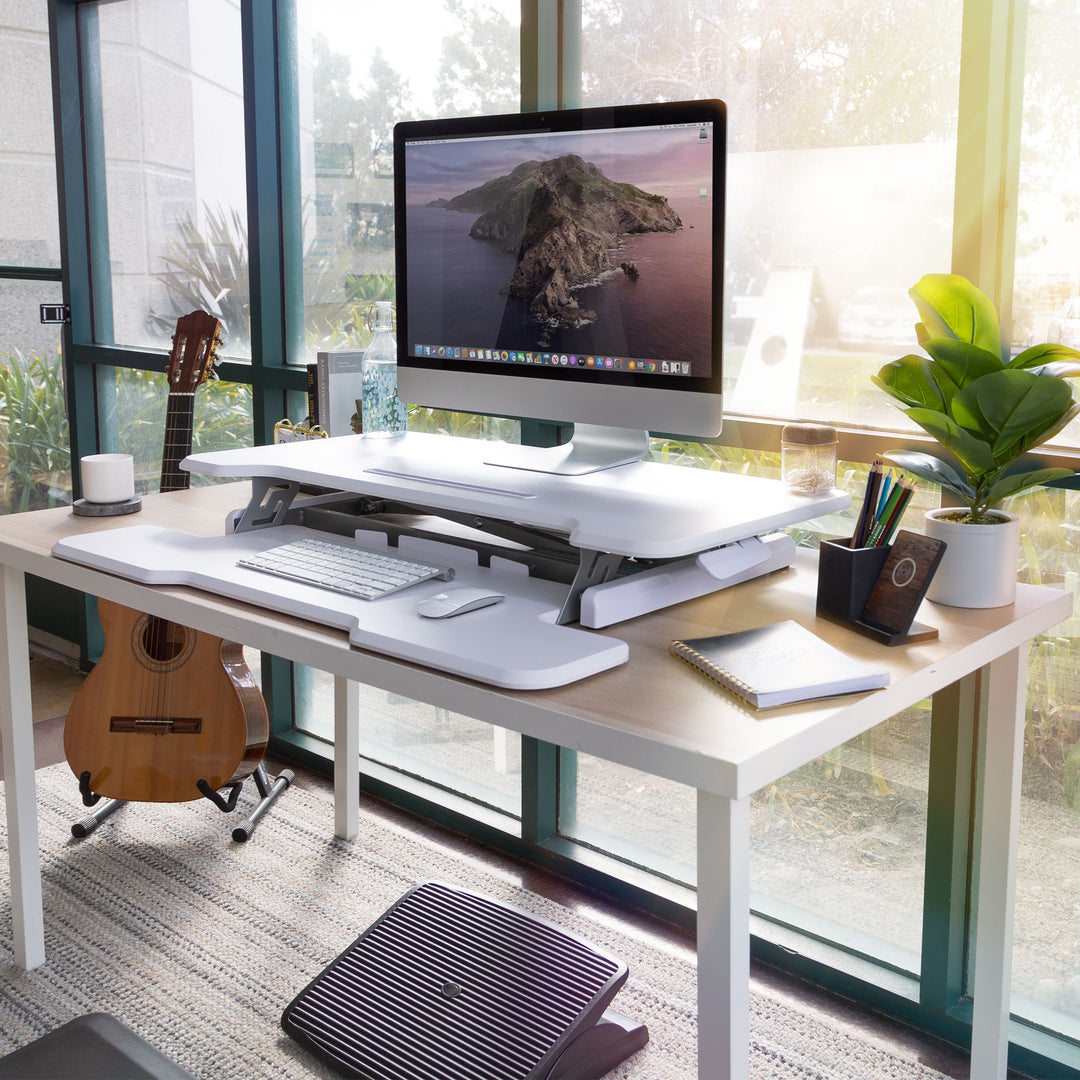
Standing desks are becoming an increasingly popular way to improve the ergonomics of offices across the world. However, it is not always feasible for workers or companies to simply buy a new desk for their space. The good news is: Standing Desk Converters are a budget-friendly alternative to standing desks and they come in many shapes and sizes. Find out more how sit to stand desk converters can benefit your productivity and health.