


Why Your Monitor Setup Is Secretly Sabotaging Your Work
Let's face it: that persistent neck pain or recurring eye strain isn't just a minor annoyance. It's a clear indication that your monitor setup isn't working for you. Incorrect monitor placement can trigger a chain reaction of problems, impacting everything from your productivity and focus to your long-term health, potentially leading to musculoskeletal disorders. Understanding proper monitor mounting is key to avoiding these issues.
For example, a monitor positioned too low encourages poor posture, forcing you to hunch over and strain your neck and back. A monitor placed too far away, on the other hand, can cause eye strain as you struggle to focus. This can result in headaches, blurred vision, and reduced work efficiency. These seemingly minor discomforts add up over time, impacting your overall well-being and job performance. You might be interested in: How to master ergonomics.
The Benefits of Mounting Your Monitor
Mounting your monitor offers a range of advantages to combat these common problems. A quality monitor mount lets you customize the height, angle, and distance of your screen, allowing you to create a personalized ergonomic setup. This means you can position your monitor at the optimal eye level, promoting better posture and reducing strain on your neck and back. Plus, mounting frees up valuable desk space, leading to a cleaner, more organized work area.
-
Improved Posture: Positioning your monitor at eye level encourages a natural, upright posture.
-
Reduced Eye Strain: Correct monitor placement minimizes eye fatigue and headaches.
-
Increased Desk Space: Mounting creates more usable desk space for other tasks.
-
Enhanced Productivity: A comfortable work setup improves focus and boosts work efficiency.
The increasing popularity of monitor mounts reflects a growing emphasis on workspace ergonomics. The global monitor arm market was valued at approximately USD 1.5 billion in 2023, and it's projected to grow at a compound annual growth rate (CAGR) of over 3% from 2024 to 2032. This growth underscores the rising awareness of the importance of ergonomic solutions. You can find more detailed statistics here. For additional information on related products, the Blog offers a helpful resource.
Choosing the Right Mount for Your Needs
There are several monitor mounting options available, each with its own set of pros and cons. Understanding these differences is essential for selecting the right mount for your specific requirements. We'll delve deeper into these options in the following sections, guiding you through the available choices and helping you make an informed decision.
Getting Your Tools Right (So You Don't Hate Yourself Later)
Nothing derails a monitor mounting project faster than realizing you’re missing a crucial tool mid-installation. Whether you’re using a simple desk clamp or tackling a more complex wall mount, having the right tools from the start can save you time and frustration. It can also prevent potential damage to your equipment. This means gathering everything before you begin.
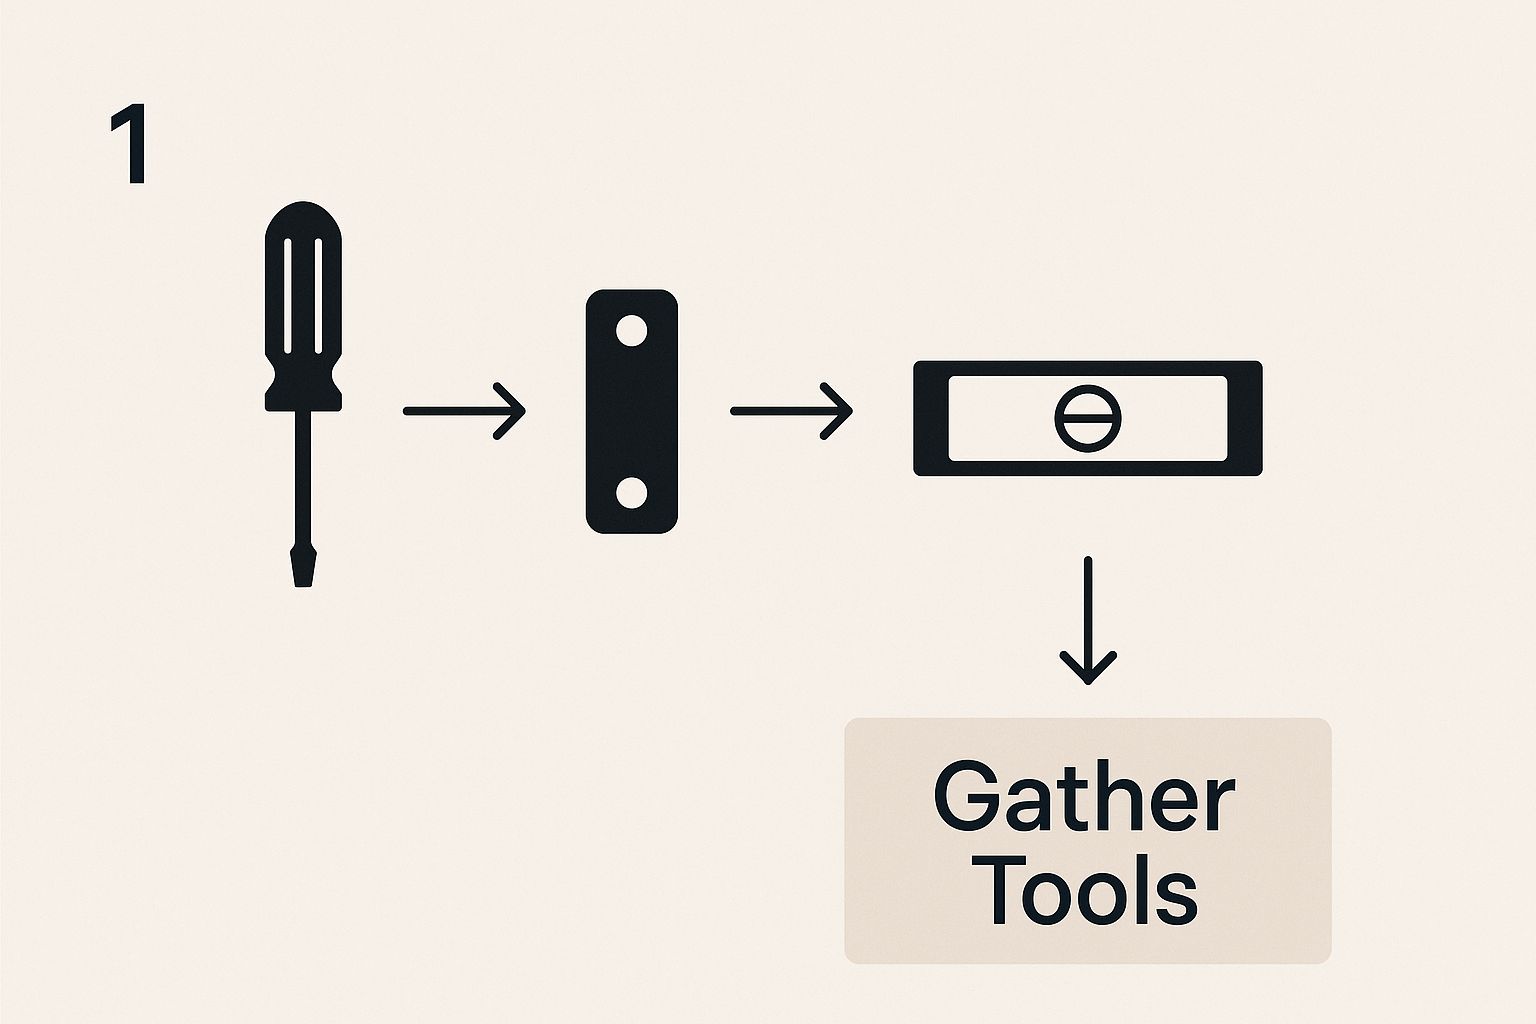
This infographic shows a clean, organized workspace with essential tools like a screwdriver and level) readily available. Preparing your tools like this simplifies the mounting process and helps prevent mistakes. This proactive approach sets you up for a successful installation and minimizes the risk of damage.
Essential Tools For Every Mounting Scenario
While specific tools may vary based on your mount and wall material, some essentials are universally required.
- Screwdrivers: Having the correct size and type of screwdriver (Phillips or flathead) is crucial. This ensures you can properly secure the mount and attach the monitor.
- Level: A level, whether a traditional bubble level or a digital one, is essential. It ensures your monitor is perfectly aligned.
- Drill (for Wall Mounts): Wall mounting requires a drill with the correct drill bits for your wall type (wood, concrete, brick).
- Stud Finder (for Wall Mounts): Locating wall studs is critical for secure wall mounting. A stud finder makes this process much easier.
- Measuring Tape: Accurate measurements are key for determining the correct placement of your mount and monitor. Use a reliable measuring tape.
- Pencil: Marking your mounting points with a pencil ensures precise installation.
Before you begin, let's look at a checklist to make sure you're well-prepared.
The following table outlines the tools you'll need and their specific uses for different mounting types.
Complete Monitor Mounting Tool Checklist Essential tools organized by mounting type with specific recommendations
| Tool | Purpose | Desk Mount | Wall Mount | Recommended Specs |
|---|---|---|---|---|
| Screwdriver | Securing mount and attaching monitor | Yes | Yes | Phillips #1, #2; Flathead as needed by your mount |
| Level | Ensuring monitor alignment | Yes | Yes | Bubble or digital |
| Drill | Creating pilot holes and securing to wall | No | Yes | Variable speed with appropriate bits |
| Stud Finder | Locating wall studs for secure mounting | No | Yes | Electronic or magnetic |
| Measuring Tape | Accurate placement measurements | Yes | Yes | Retractable, at least 10 feet |
| Pencil | Marking mounting points | Yes | Yes | Any standard pencil will do |
Having the right tools at your fingertips will significantly streamline the process. This table helps ensure you have everything you need before you start.
Why The Right Screwdriver Matters
Using the incorrect screwdriver can strip screws, damage your equipment, and prolong the installation. Invest in a good quality screwdriver set. This small investment will make a big difference.
Avoiding Common Equipment Failures
One of the most common frustrations is encountering faulty tools. A stripped screw or a broken level can quickly derail your project. For example, using a low-quality drill bit on a concrete wall can be problematic. A faulty stud finder can lead to insecure mounting. By investing in reliable tools and checking them beforehand, you can avoid these issues and ensure a smoother installation. This saves time and frustration in the long run.
Choosing Your Mount Without Getting Overwhelmed
Finding the right monitor mount can be tricky. Choosing the wrong one can lead to frustration and wasted money. This guide helps you select the perfect mount for your workspace and budget, cutting through the confusion and empowering you to make smart decisions for a comfortable and productive setup.
Decoding VESA Compatibility and Weight Limits
First, let's look at VESA compatibility. The VESA (Video Electronics Standards Association) sets the standard for mounting holes on monitors. This standard is usually expressed as measurements like 75x75mm or 100x100mm. Check your monitor's specifications to find its VESA pattern. Next, consider the weight limit. The mount must support your monitor's weight. A mount with a higher weight capacity than your monitor provides extra stability. For example, a mount with a 20 lb capacity is a good choice for a 10 lb monitor. Read also: How to choose a TV wall mount.
Assessing Desk and Wall Suitability
Before mounting, check your desk or wall. For desk mounts, make sure your desk is sturdy enough to hold both the monitor and the mount. A solid surface and strong construction are key. For wall mounts, locate the studs in your wall. These provide the structural support for a secure mount. Different wall materials like drywall, concrete, or brick require different mounting hardware. Using the correct hardware is critical for a stable and safe setup. You might be interested in: How to choose a TV wall mount.
Budget vs. Premium: What Really Matters
When comparing budget and premium mounts, consider the features that matter most. Articulating arms on premium mounts offer more positioning flexibility. A fixed mount might be sufficient if you don't need to adjust your monitor often. Cable management systems offer a cleaner setup, but you can manage cables yourself with a bit of effort. The most important function of a mount is stability and security. A well-built budget mount can be just as effective as a pricier option. The global monitor arm market is growing, with North America currently in the lead, followed by Europe. The Asia Pacific region is also experiencing rapid growth due to increased demand for electronics and modern office spaces. Find more detailed statistics here.
Single vs. Multi-Monitor Configurations and Adjustability
For multiple monitors, look for mounts designed for multi-monitor setups. These ensure proper weight distribution and alignment. Think about whether you need full adjustability (tilt, swivel, rotation) or if a fixed position works for you. A fixed mount is often the most practical and affordable choice if your monitor stays in one position. If you switch tasks frequently, an adjustable mount gives you the flexibility to change your view. Knowing your specific needs will help you make the best choice.
Desk Mounting That Actually Works (First Time)
Desk mounting your monitor offers significant ergonomic advantages, but the installation can feel intimidating. This guide simplifies the process into easy-to-follow steps for a smooth, first-time setup. We'll cover everything from desk prep to perfect monitor placement.
Pre-Installation Checks and Desk Preparation
Before unpacking your mount, assess your desk. Can it handle the combined weight of the mount and monitor? Clamp-style mounts need a sturdy surface. For thinner desks, a support board adds stability and prevents damage. Check out this helpful guide: How To Tell If Your Monitor Can Be Mounted. Clear your workspace to prevent accidents and give yourself room to work.
Securing the Clamp and Attaching the Monitor Arm
Attach the clamp firmly, but avoid over-tightening. Next, attach the monitor arm, following the manufacturer's instructions precisely. This foundation is key for stability.
Mounting the Monitor and Managing Cables
Attach the VESA plate to the back of your monitor and carefully hang it on the arm, ensuring it locks securely. Organize cables with cable ties or route them through the arm for a cleaner setup and to prevent disconnections.
Fine-Tuning: Alignment, Height, and Tilt
Now, adjust your monitor. Use a level for perfect alignment. Set the height so the top of the screen is at or slightly below eye level for better posture. Adjust the tilt to minimize glare and maximize comfort.
Dual Monitor Setups: Spacing and Synchronization
For dual monitors, spacing and alignment are crucial. Position monitors close enough for comfortable viewing but not too cramped. Use a level to achieve a symmetrical setup.
Troubleshooting Common Challenges
Monitor wobbling often indicates a loose clamp or improperly attached arm. Double-check all connections. Uneven alignment can be fixed with a level and careful adjustments. Don't hesitate to fine-tune until everything is perfect.
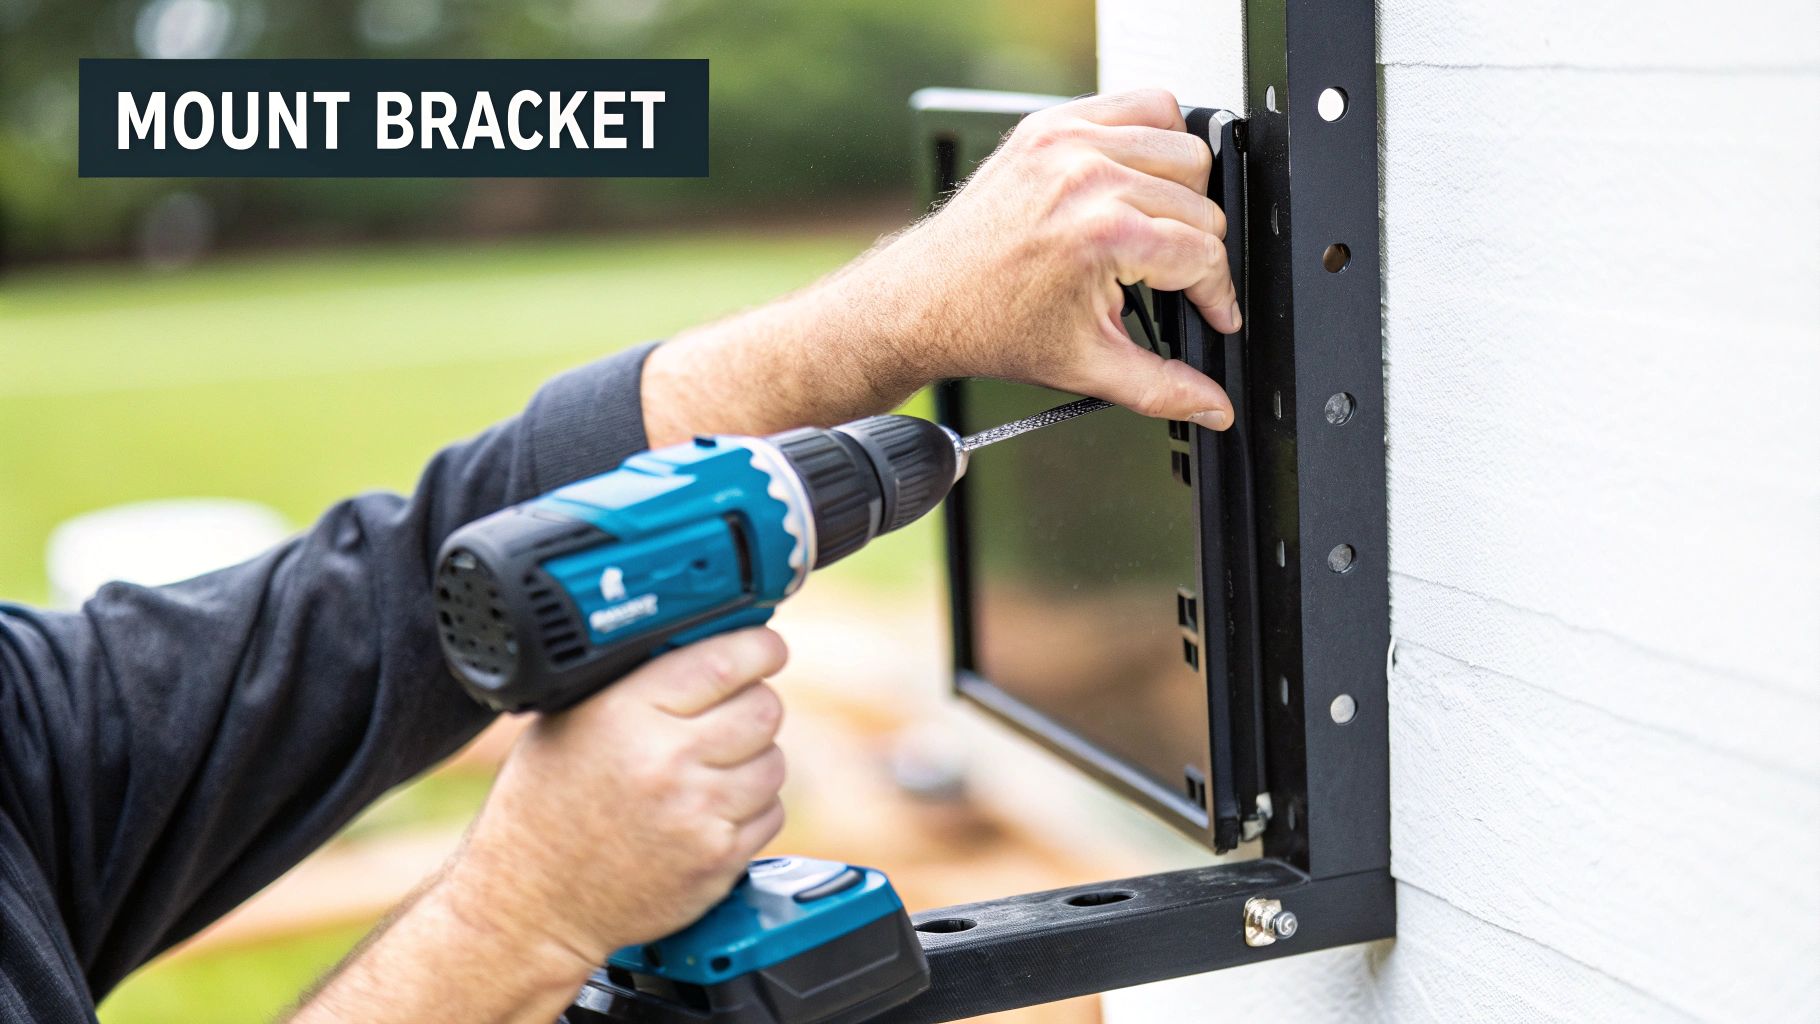
Wall Mounting Like You Know What You're Doing
Wall mounting your monitor creates a sleek, modern aesthetic and frees up valuable desk real estate. However, it's a more complex process than simply placing it on a stand. It requires understanding your wall type and selecting the correct hardware for a safe and stable installation.
Assessing Your Wall Type and Finding Studs
The first step is determining your wall type: drywall, concrete, or brick. Each requires different anchors and mounting methods. Drywall is the most common type and typically relies on locating studs – the vertical wooden supports inside the wall. A stud finder will help you pinpoint these studs. Mark their location with a pencil to accurately plan your mounting points.
Choosing the Right Anchors and Hardware
After locating the studs, selecting the appropriate anchors is essential. If mounting directly to studs, use robust wood screws. For areas between studs, opt for drywall anchors such as toggle bolts or molly bolts. Ensure these anchors are weight-rated for your monitor and mount. For concrete or brick walls, use concrete anchors with the correct masonry drill bits. These specialized anchors offer a secure hold in these dense materials.
Measuring, Marking, and Ensuring Level Installation
Measure the distance between the mounting holes on your monitor's VESA plate. Then, carefully transfer these measurements to the wall, making sure the marked locations align with studs or allow for secure anchor placement. A level is indispensable for ensuring the mounting bracket is perfectly horizontal, preventing a tilted monitor after installation. For more tips on tricky installations, check out this article on how to mount a TV in a corner. Interestingly, the market for monitor mounts is quite large. The global TV and monitor mounts market was valued at approximately USD 9.5 billion in 2023 and is projected to reach nearly USD 16.8 billion by 2032. You can find more detailed statistics here.
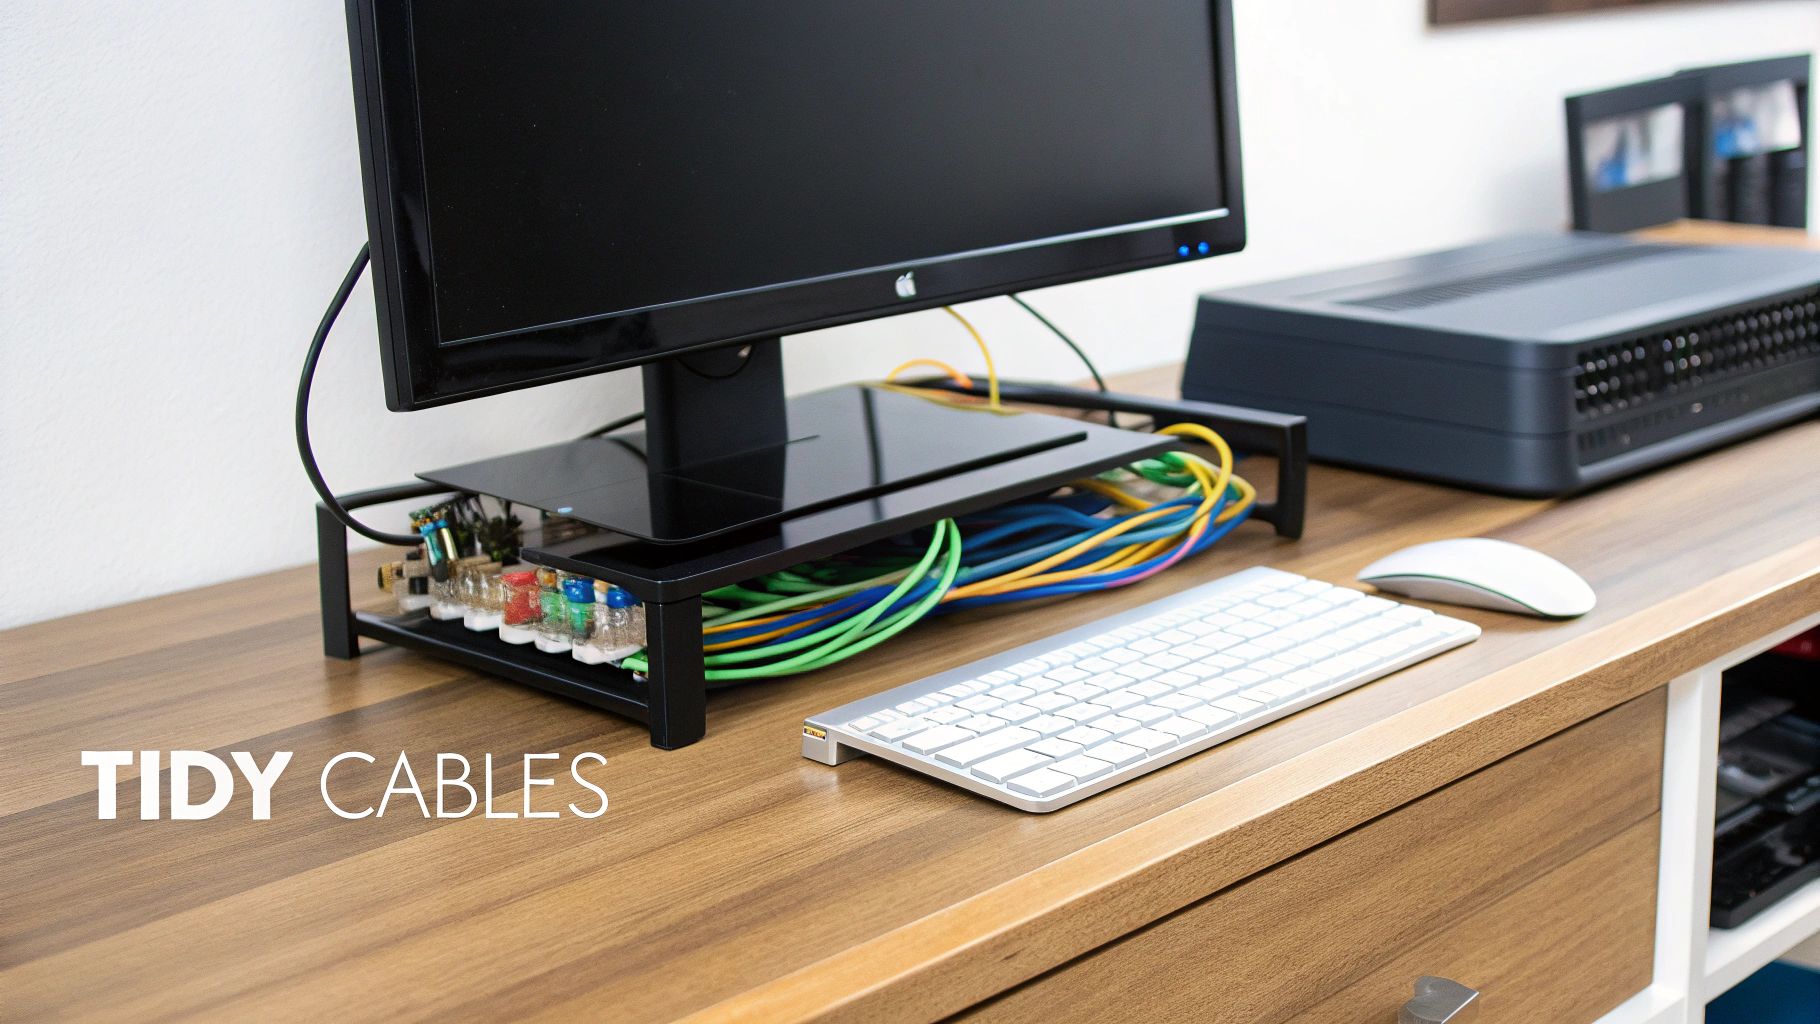
Cable Management and Hiding Wires
Before you mount the monitor, plan your cable routing. You can run cables through the wall for a clean look or use cable covers to conceal them. Creating a service loop—extra cable length behind the monitor—allows for future adjustments or troubleshooting without disconnecting wires. This also prevents strain on the connections.
Safety First: When to Call a Professional
While many DIY enthusiasts can successfully wall mount a monitor, some situations require professional expertise. If you are unsure about your wall type, uncomfortable working with electrical wiring, or hesitant about drilling into your walls, consider hiring a professional. This ensures a safe and secure installation, especially with larger, heavier monitors or more complex wall structures. For additional information, you might find this article helpful: How to mount a TV in a corner. Remember, safety should always be the top priority.
Dialing In Your Setup For Maximum Comfort
Installing your new monitor mount is a big step, but the real magic happens when you optimize its positioning. This means understanding how comfortable viewing works and tweaking your setup to reduce eye strain and fatigue.
Ergonomics: More Than Just a Buzzword
Ergonomics is key for productivity and long-term well-being. Good monitor placement minimizes eye strain, neck pain, and backaches, letting you focus on work, not discomfort. It’s like adjusting your car seat: the right position makes all the difference. Similarly, a well-positioned monitor transforms your workspace into a comfortable and productive zone.
Finding Your Sweet Spot: Viewing Distance, Height, and Angle
The ideal viewing distance is about an arm's length from the screen. This reduces eye strain and lets you see the whole screen without moving your head too much. The top of the screen should be at or slightly below eye level. This keeps your neck in a neutral position, preventing fatigue and potential problems. The tilt angle, usually between 10-20 degrees, should minimize glare and reflections. Learn more about productivity benefits in this article: how monitor mounts reinforce work productivity.
To further assist you in finding the ideal ergonomic setup, consult the guidelines below:
Ergonomic Monitor Positioning Guidelines provide optimal measurements and angles based on different user heights and monitor sizes. This information allows for a personalized approach to monitor placement, ensuring maximum comfort and productivity.
| User Height | Monitor Size | Viewing Distance | Screen Height | Tilt Angle |
|---|---|---|---|---|
| 5'0" | 24" | 24-28" | Top of screen at eye level | 10-15° |
| 5'5" | 27" | 28-32" | Top of screen at or slightly below eye level | 10-15° |
| 6'0" | 32" | 32-36" | Top of screen slightly below eye level | 15-20° |
| 6'5" | 34" | 36-40" | Top of screen slightly below eye level | 15-20° |
By using these guidelines as a starting point and adjusting based on your individual needs, you can achieve a comfortable and ergonomic workspace.
Multi-Monitor Mastery: Alignment Without the Frustration
With multiple monitors, alignment is essential. Imagine reading a book with pages at different heights— disruptive and inefficient, right? Misaligned monitors create similar visual breaks, hindering productivity. Keep your monitors at the same height and angle for a smooth visual flow, like a panoramic view for your eyes.
Testing and Refining: Beyond Eyeballing It
Don’t just guesstimate your setup. Sit in your normal working position and check your comfort. Are you looking straight ahead or tilting your head? Are your arms comfortably positioned? Testing and adjusting are key for maximizing ergonomic benefits and boosting productivity.
Adaptability and Personalization
Just as people need different chair heights, monitor setups should be personalized. Consider creating ergonomic profiles for different users or tasks. This ensures optimal comfort and efficiency for everyone. It's like having different driver settings in a car—quick customization for each user.
Maintaining Your Investment: Long-Term Care
Regular maintenance keeps your mount performing its best. Check for loose screws, clean the mount, and inspect cables. This preventative care extends its lifespan and prevents future problems.
Lighting and Color: The Finishing Touches
The right lighting and colors enhance your workspace. Minimizing glare reduces eye strain, and a balanced color palette creates a visually appealing and productive environment. These finishing touches complete your professional setup and optimize your viewing experience.
When Things Go Wrong (And How To Fix Them)
Even the most carefully planned monitor mount installations can run into a few snags. This section will give you the know-how to tackle common issues, ensuring your setup stays stable, functional, and looking great for years to come. Don’t worry – these problems are usually easy to fix with the right approach.
Addressing Wobbling, Alignment Issues, and Cable Management Disasters
One of the most common complaints is monitor wobbling. This is often caused by a loose clamp, a poorly tightened arm, or a desk that isn’t sturdy enough. Check all your connections, making sure screws are tight and the clamp is firmly attached to your desk.
If your desk flexes under pressure, think about using a support board to reinforce the mounting point. This will create a more stable base for your monitor mount.
Uneven alignment can be a real headache, especially with dual monitor setups. A level is indispensable here. Double-check the alignment of both the mount and the monitors themselves, making small adjustments until everything is perfectly straight and balanced. Accurate mounting is all about precision.
Cable management disasters are easy to avoid with a bit of upfront planning. But even the neatest setups can get tangled over time. Use cable ties to secure loose cables, re-route them through cable management channels on the arm, or use adhesive clips to keep them organized and prevent them from getting unplugged.
Diagnosing Structural Problems and Improving Stability
Sometimes, the issue goes beyond loose screws. If your mount still feels unstable even after tightening everything, the problem might be the mount itself, especially if you have heavier monitors. Check the mount’s weight capacity to make sure it’s suitable for your monitor.
If the weight is within the limit, contacting the manufacturer is a good next step. They can often offer troubleshooting advice or send replacement parts.
Long-Term Maintenance and Preventive Measures
Just like anything else, your monitor mount needs a little TLC every now and then. Regularly check for loose screws, clean the mount to get rid of dust and debris, and inspect cables for any wear and tear. This kind of preventive maintenance can keep your mounting system working well for longer and stop small issues from becoming big headaches.
Warranty Considerations and Manufacturer Support
If you’re still having problems, check your mount’s warranty. Many manufacturers offer warranties that cover defects and malfunctions. It’s a good idea to document your installation process with photos and notes, including the date of purchase and installation.
This documentation can be really helpful if you need to make a warranty claim or contact customer support. Understanding your warranty is an important part of monitor mounting.
Upgrades, Replacements, and Future-Proofing Your Setup
Technology changes fast. As your needs evolve, you might find yourself needing to upgrade your monitor or your mounting system. A mount with adjustable arms and multiple mounting options gives you flexibility for the future.
This adaptability means you can use larger monitors or different configurations down the line without having to replace the whole system.
Ready to create the perfect monitor setup? Shop our wide selection of high-quality monitor mounts, desks, and other ergonomic solutions designed to transform your workspace. Improve your productivity, comfort, and overall well-being with Mount-It!