
Figuring out how to organize the cables under your desk isn't rocket science. It really just boils down to bundling wires, hiding power strips, and routing everything out of sight with simple tools like trays and clips. It's a straightforward project that can take a chaotic space and turn it into a clean, safe, and professional work environment in just a few hours.
Why Managing Your Desk Cables Matters
Before you even think about unplugging a single wire, let's get one thing straight: managing your cables is so much more than an aesthetic choice. It’s a strategic upgrade for your entire workspace. That tangled nest of wires isn't just messy; it’s a subtle drain on your focus and can create some very real safety issues.
Think about it. A cluttered under-desk area is a classic trip hazard. It also dramatically increases the odds of accidentally unplugging a critical device—right in the middle of an important task—just by snagging a loose cord with your foot. A clean, organized setup immediately makes your workspace feel more professional and cuts down on that low-level daily stress.
More Than Just a Tidy Look
The benefits go way beyond physical safety and a clean look. An organized environment has a real impact on clearer thinking and better productivity. When your physical space is orderly, your mental space often follows, helping you concentrate more effectively on your work.
It's no surprise that professionals are investing more in their setups. The global cable management market, which was valued at USD 24.7 billion in 2023, is expected to nearly double by 2032, a trend fueled by the massive shift to home offices. You can dig into more of this data in the full market report.
Tackling cable clutter turns a weekend chore into a permanent upgrade for your daily workflow. It’s a small investment of time that pays dividends in focus, safety, and peace of mind every single day.
Ultimately, a well-managed cable system is one of the foundational elements of a truly functional workspace. It perfectly complements other upgrades you might make for a better work experience. If you're interested in taking a more holistic approach, check out our guide on creating a complete ergonomic desk setup.
Your Pre-Organization Checklist
A great cable management project starts long before you ever touch a single zip tie. I can't stress this enough: proper prep work is what separates a frustrating, tangled mess from a smooth, satisfying result. Taking the time to set up a clear plan and a clean slate will save you a ton of headaches down the road.
The first move is non-negotiable: unplug everything. It might feel like a major hassle, but believe me, starting from scratch is the only way to do this right. This forces you to assess every single cable individually, untangle that existing rat's nest, and gives you a chance to properly clean the whole area.
Audit and Sort Your Cables
Once everything is disconnected, it's time for a cable audit. This is your golden opportunity to finally get rid of wires you haven't used in years—I’m looking at you, old printer cable from 2008.
- Group by Type: First, separate your power cables from your data cables (like USB, HDMI, and Ethernet). This simple step helps prevent potential signal interference, but more importantly, it just makes bundling them up way more logical.
- Identify Essentials: Lay out only the cables for the devices you actually use every day. This immediately gives you a visual of what’s truly necessary for your setup.
- Inspect for Damage: Take a moment to check each essential cable for frays, bad kinks, or exposed wires. A damaged cable isn't just an eyesore; it's a genuine safety hazard and should be replaced immediately.
Think of this process like decluttering a closet. You’re evaluating what you truly need, getting rid of what you don’t, and organizing what’s left. This ensures your final setup is as minimal and efficient as possible.
Prepare Your Surface
This final prep step is so easy to overlook, but it’s absolutely crucial if you plan on using any adhesive solutions like cable clips or mounts. Dust, grease, and grime are the mortal enemies of a strong bond.
Give the underside of your desk, the back edges, and even the desk legs a thorough wipe-down with a cleaner that's appropriate for the material. A clean surface ensures your cable management tools will stick firmly and stay put.
This is also the perfect time to think about how your whole setup affects your posture. As you're rethinking your layout, you can find more tips on how to ergonomically use a laptop to make your workspace even better.
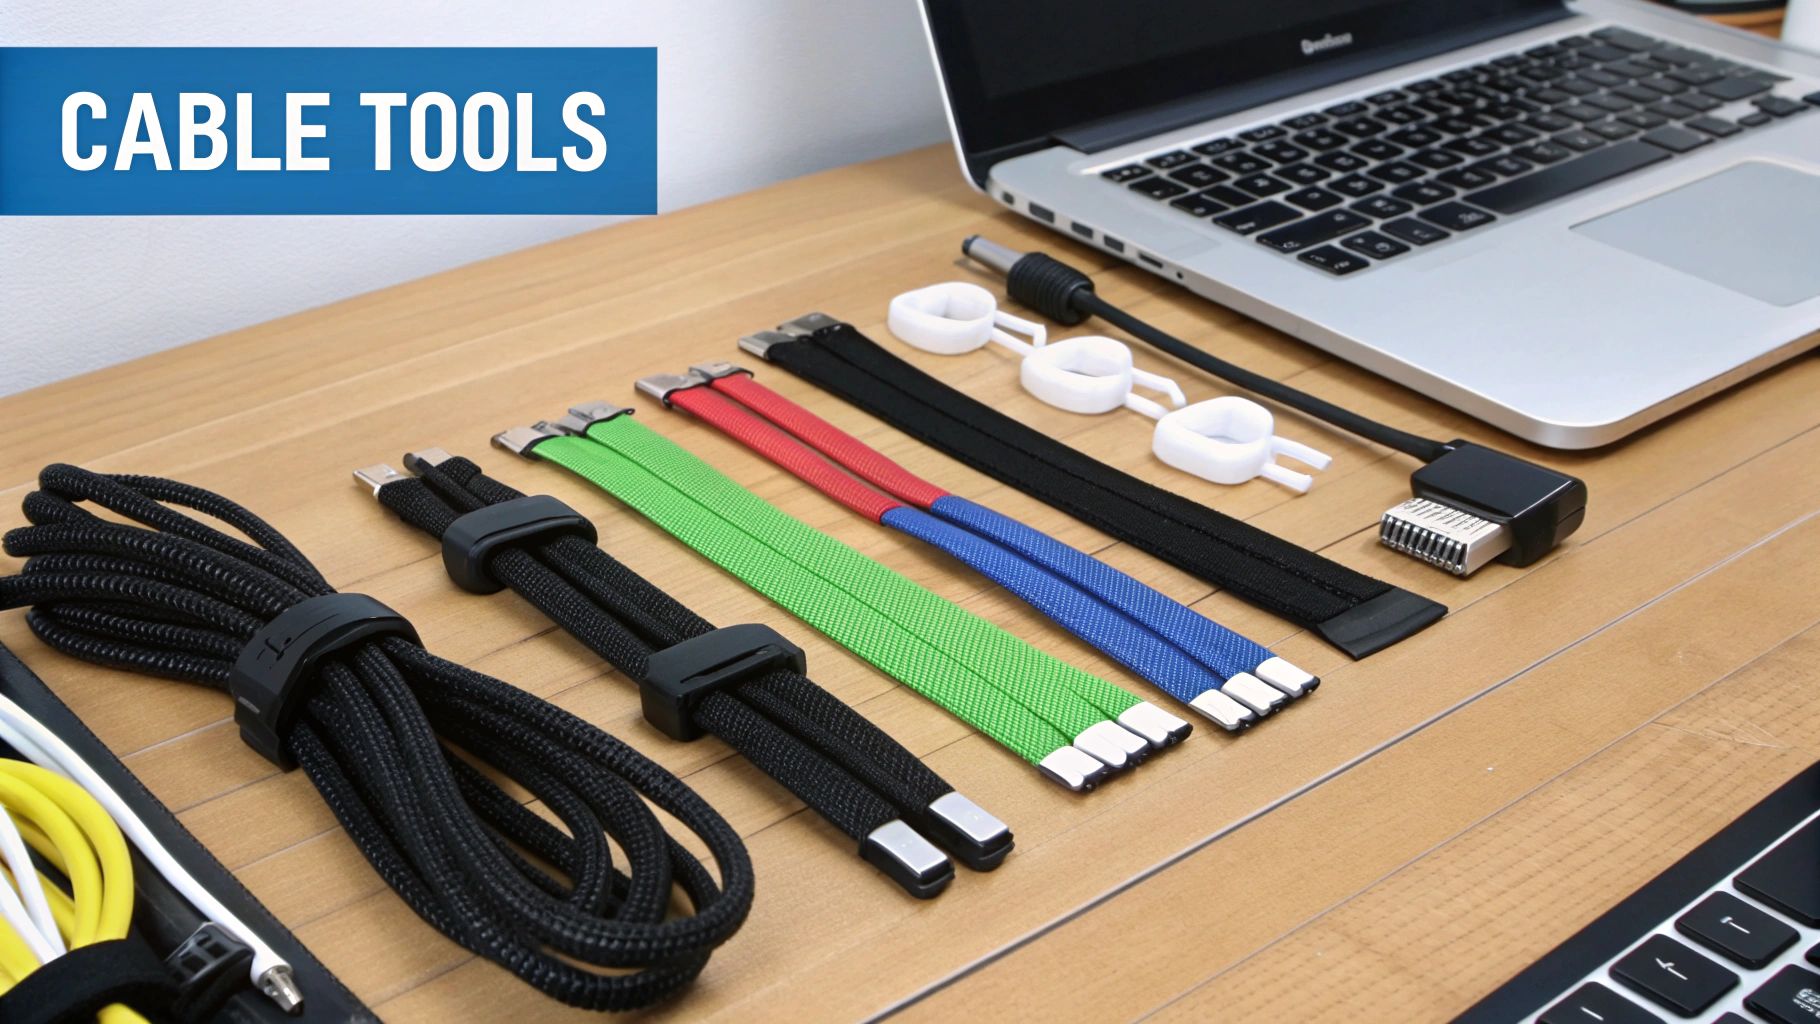
Choosing the Right Cable Management Tools
With your cables sorted and your desk prepped, it's time to pick the right gear for the job. Not all cable management solutions are built the same; the best choice really comes down to your specific setup, what kind of desk you have, and how often you're swapping out peripherals.
Think of this as building a small, specialized toolkit. For a complete overview of what's available, you can explore the entire Mount-It! cable management solutions collection. The goal is to get you set up for a clean, professional look that lasts.
We're moving past temporary fixes like a wad of tape and investing in solutions that provide a more permanent and polished finish. I've found the most effective systems usually combine a few different products to handle everything—from hiding bulky power bricks to neatly guiding a single mouse cord.
Core Solutions for Hiding and Bundling
Your biggest enemy is almost always the power strip and the nest of wires sprouting from it. Getting this entire bundle off the floor should be your first priority.
- Under-Desk Cable Trays: These are the workhorses of cable management. It’s a simple metal or plastic tray that mounts directly underneath your desk, creating the perfect shelf for a power strip, chunky adapters, and all that extra cable slack. This one product alone can hide the biggest source of your clutter.
- Fabric Cable Sleeves: When you have a group of cables all heading in the same direction—say, from your monitor and keyboard to your computer—a flexible fabric sleeve works wonders. They just zip or wrap around the bundle, turning a messy octopus into one clean, contained tube.
- Reusable Cable Ties: Forget the frustration of single-use zip ties. Modern hook-and-loop options like VELCRO® Brand ONE-WRAP® Ties are a game-changer. They're adjustable, reusable, and perfect for taming smaller groups of wires or just shortening a cord that’s way too long.
Expert Tip: When you're picking out a cable tray, always think about ventilation. Power adapters and bricks can get surprisingly warm. A mesh or slatted tray is a much better choice than a solid plastic box because it lets air circulate, which is safer for your gear.
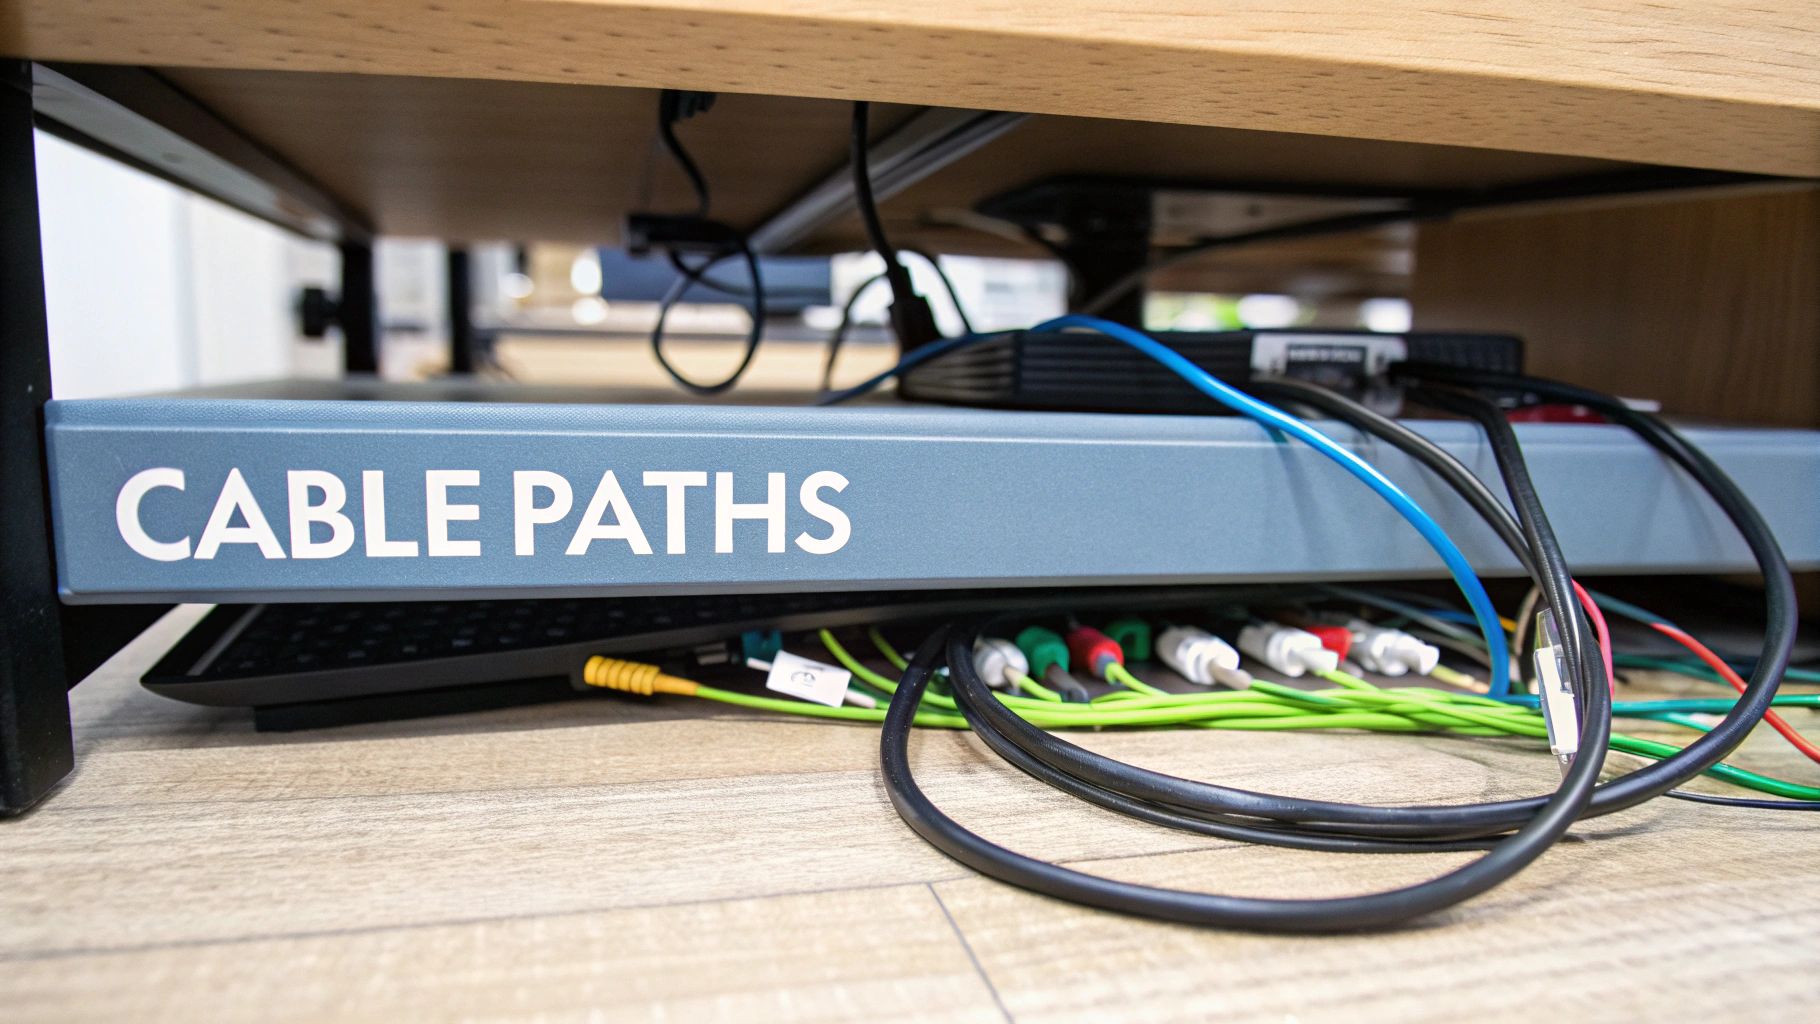
Fine-Tuning with Routing and Securing Tools
Once you've wrangled the major cable bundles, the next step is managing the individual paths. This is where you can take your setup from "good enough" to truly clean and intentional.
Adhesive-backed clips are fantastic for guiding single cables along the back edge or legs of your desk. They keep wires flush against surfaces, preventing them from dangling or snagging. My advice is to look for clips with a strong adhesive but also a design that lets you easily pop a cable in or out without having to unstick the whole mount.
For a more permanent and super-clean look, you can install a plastic cable raceway. Think of it as a small, hollow channel that sticks to a surface. You run your wires inside it, completely hidden from view. While it’s less flexible than using individual clips, a raceway gives you the cleanest possible line for long, straight runs.
If you want to see some of these solutions in action, you can explore a ton of different cable management ideas to get more inspiration for your own workspace.
Comparing Cable Management Solutions
To make the decision a bit easier, I've put together a quick comparison of the most common tools. Each one has its place, and knowing the pros and cons can help you build the perfect system for your needs.
| Tool | Best For | Pros | Cons |
|---|---|---|---|
| Cable Tray/Basket | Hiding power strips, adapters, and excess cable length under a desk. | Hides the most clutter; keeps bulky items off the floor. | Requires drilling; can be tricky to access once installed. |
| Fabric Cable Sleeve | Bundling multiple cables running together (e.g., to a monitor or PC). | Flexible and neat; easy to add or remove cables. | Can be bulky; not ideal for single cables. |
| Reusable Cable Ties | Securing small bundles; shortening individual long cords. | Highly flexible; reusable and adjustable; affordable. | Doesn't completely hide cables, just organizes them. |
| Adhesive Clips | Guiding single cables along a specific path on a desk or wall. | Precise routing; discreet; easy to install. | Adhesive can fail over time or damage some surfaces. |
| Cable Raceway | Creating a clean, hidden channel for cables along a wall or desk edge. | Offers the cleanest, most professional look for straight runs. | Less flexible; installation is more permanent. |
Ultimately, there's no single "best" tool. The magic really happens when you combine them. You might use a tray for the power strip, a sleeve for the main bundle running to your PC, and a few adhesive clips to keep your headphone and mouse cables perfectly in place. This layered approach is what separates a truly organized desk from one that just looks tidy at a glance.
Executing Your Cable Management Strategy
Alright, this is where the magic happens. You've got your plan, your cables are sorted, and your tools are ready. Now it’s time to put it all together, using the same approach the pros do to turn that tangled mess into a clean, organized, and intentional setup.
The single biggest win you can score right away is getting your power strip off the floor. This one move instantly cleans up the biggest source of cable clutter. You can mount it directly to the underside of your desk, but I find placing it inside a dedicated under-desk cable tray works even better. It creates a central, hidden hub for every plug.
Connecting with Intention
With the power strip mounted and out of sight, you can start plugging things back in—but this time, with a purpose. Don't just recreate the same tangled web.
- Group by Destination: Think about where your cables are going. Wires heading to your monitor—like power, HDMI, or DisplayPort—can be bundled into a single, clean run using a fabric sleeve or some reusable ties.
- Follow the Desk's Lines: Route your bundled cables along the natural structure of your desk. I usually run them along the back edge or down a leg, securing them with adhesive clips every foot or so. This keeps them completely invisible from most angles.
- Separate Power and Data: This is a classic pro tip. Whenever you can, run your power cords separately from data cables like Ethernet or USB. Modern cables have good shielding, but keeping them apart is a best practice that helps prevent any chance of signal interference. It’s a small detail that ensures everything runs at its best.
This simple flowchart lays out the basic sequence for mounting your gear and routing your cables.
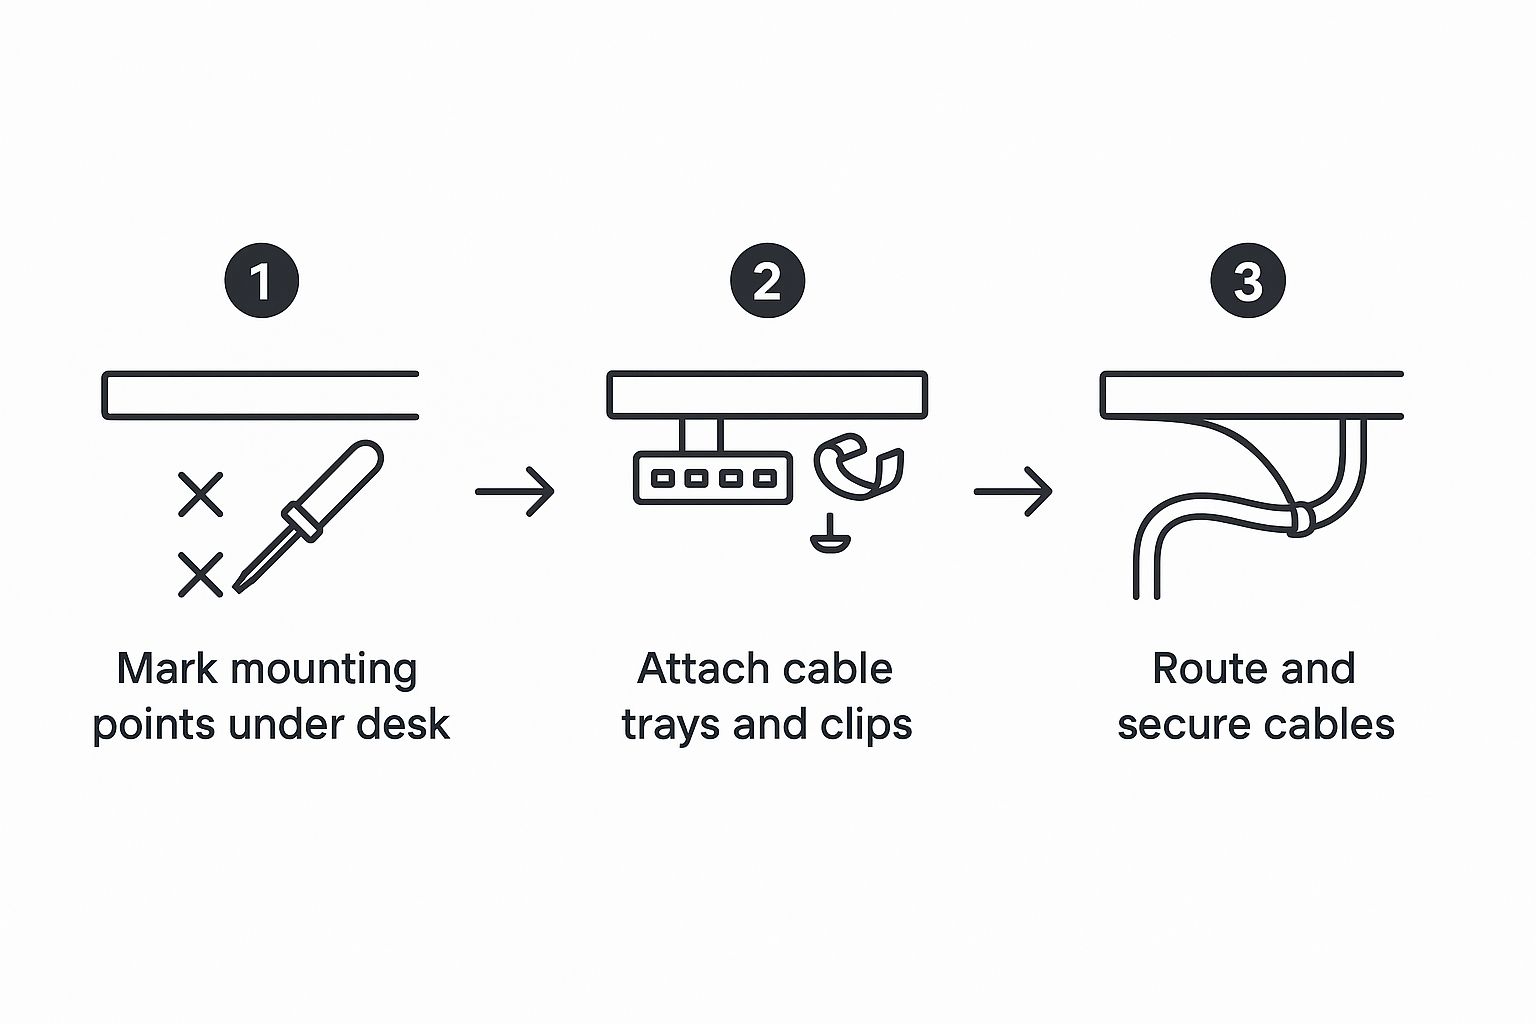
As you can see, the key is to follow a sequence: mount your hardware first, then route and secure the cables.
The Art of Cable Slack
A common mistake I see is people pulling every cable perfectly taut. It looks crisp at first, but it can create real headaches down the road. You need to leave just enough slack for any device that might move around.
For anything you touch regularly—like your mouse, keyboard, or headphones—leave a little extra length. This allows for natural movement without putting stress on the connection port. If you have a standing desk, this is absolutely non-negotiable. You need enough slack for the desk to travel its full range of motion without a single snag.
By following this process, you end up with a setup that’s not just tidy, but also practical and built to last. If you're looking for the right tools for the job, you can find a huge variety in the complete collection of Mount-It! cable management solutions.
Maintaining Your Tangle-Free Desk
An organized desk isn't a "set it and forget it" project. Think of it as a living system you have to nurture over time. Keeping that pristine, just-finished look involves building a few new habits and doing some occasional check-ins. It's this ongoing maintenance that really makes the initial effort pay off for years to come, turning a temporarily tidy desk into a permanently organized one.
One of the first things you'll run into, especially with a standing desk, is slack management. When you raise your desk, every single cable needs enough give to move smoothly without snagging or, worse, unplugging something important. A simple rule of thumb I always follow is to test the full range of motion right after I've organized everything. I raise the desk to its absolute highest setting and make sure no single cable is pulled taut.
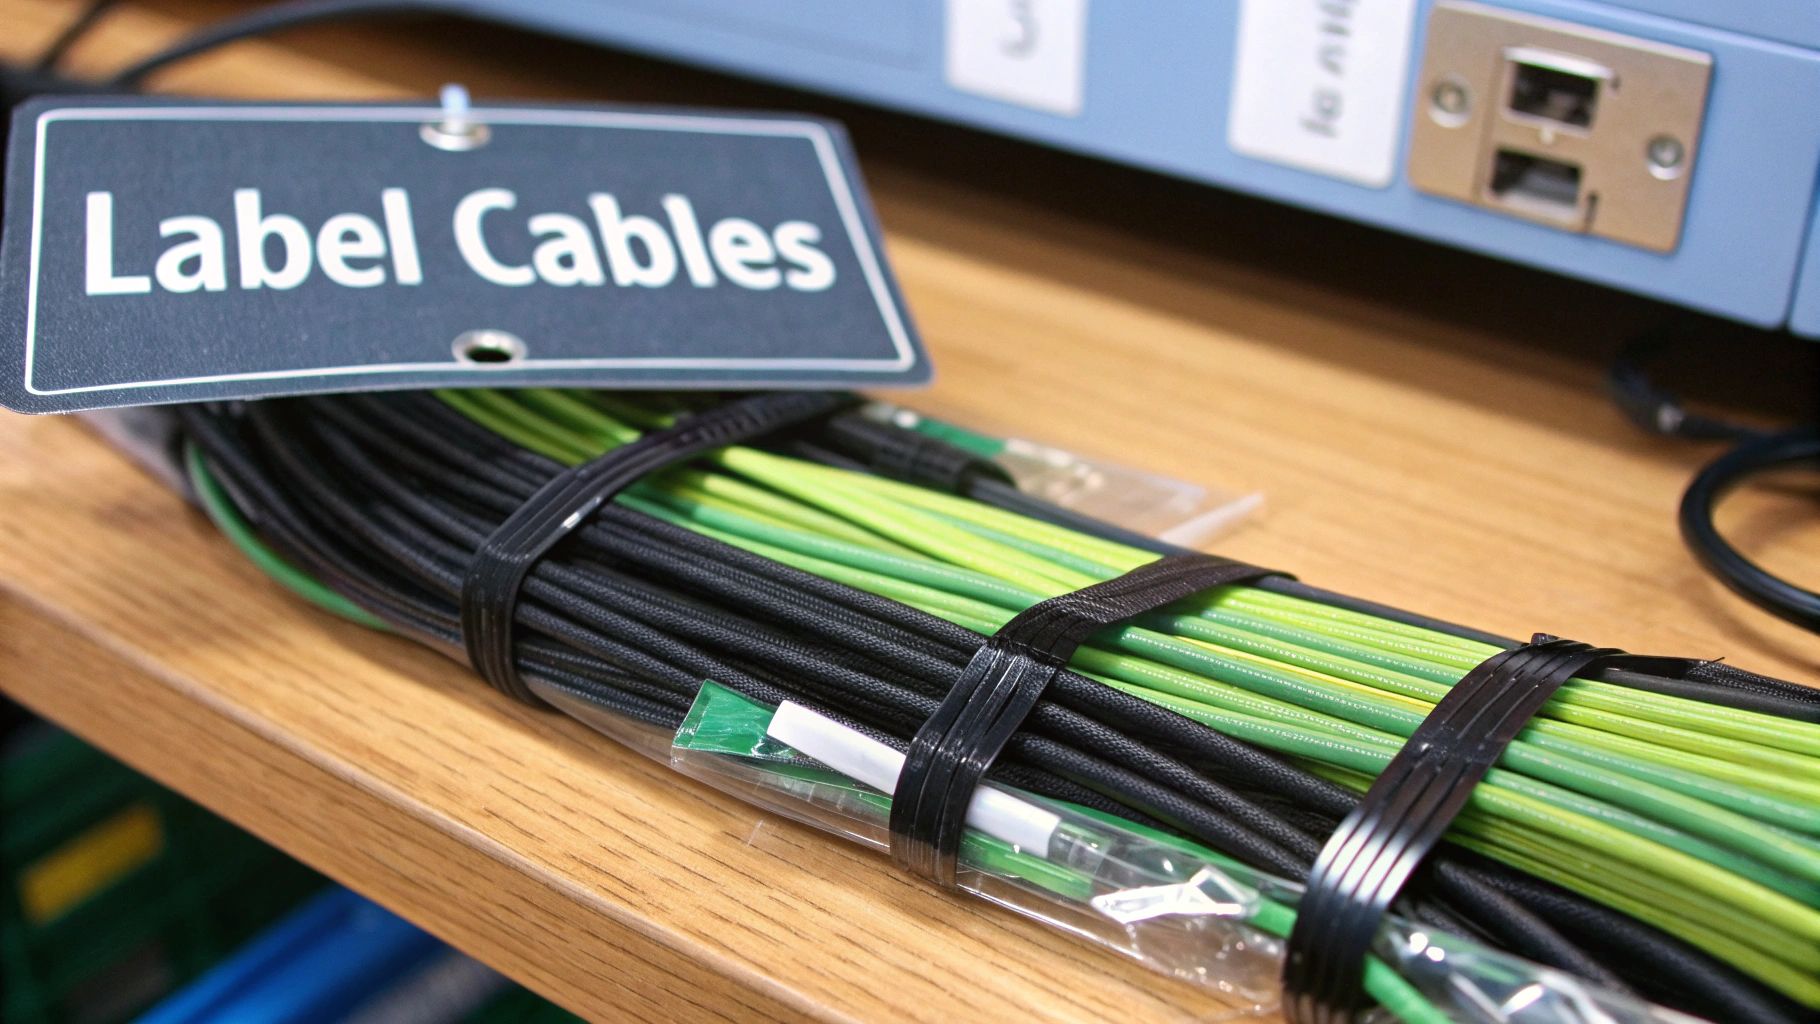
Future-Proofing Your Setup
To save yourself a massive headache down the line, do this one thing: label every cable at both ends. You can use a simple label maker or even just some color-coded tape. The next time you need to troubleshoot an issue or swap out a device, you won’t have to play "guess the wire." You'll know exactly what you're unplugging without tracing it through a whole bundle.
Think of it as creating a "map" for your future self. It’s a five-minute job now that can easily save you an hour of frustration later. It makes adding or changing any part of your setup incredibly simple.
This kind of structured, safe approach isn't just a good idea—it's a global standard. Europe, for example, holds around 35% of the cable management market share, largely because of their strict safety standards for installations.
The Quarterly Check-In
I find it helpful to set a recurring calendar reminder for every three or four months. This is just a quick, 10-minute check-in to make sure everything is still in good shape.
Here’s what I look for:
- New Gear: When I add a new monitor or gadget, I make a point to route its cables properly through the existing system instead of just letting it hang.
- Drooping Cables: I do a quick scan to make sure all the adhesive clips are still holding strong and no bundles have started to sag.
- Unused Cords: If I've retired a device, I remove its cable entirely. There's no point in cluttering the system with cords that go nowhere.
This simple routine ensures your workspace stays as functional and clean as the day you first organized it. A well-maintained desk reduces both physical and mental clutter, which is a huge part of a healthy work environment. To take your workspace optimization even further, check out our advice on how to avoid injuries from poor ergonomics.
Common Cable Questions Answered
Even with the best game plan, unique situations always pop up. Let's walk through some of the most frequent questions people ask when they're finally ready to sort out the cables under their desk.
Standing Desk Cable Management
What's the best way to handle cables for a standing desk? The single most important word here is flexibility. When you've got wires running from the floor all the way up to your desktop, you need to bundle them in a way that allows for movement. A flexible cable sleeve or a vertical cable spine is perfect for this—they keep everything tidy while letting the bundle extend and retract as you raise or lower your desk.
The real pro-tip for standing desks is to mount your power strip directly to the underside of the desk. This changes the game completely. Now, only one main power cord needs that vertical slack, which stops a whole tangle of individual cords from snagging, pulling, or getting caught every time you adjust the height.
Hiding Power Strips and Plugs
So, how do you make a power strip and all those bulky plugs just disappear? Your best bet is an under-desk cable management tray or a dedicated box. These are designed to mount right to the bottom of your desk, creating a hidden compartment. You can drop the entire power strip, along with all its clunky adapters, right inside. It’s the cleanest, most effective way to get that whole mess up off the floor and out of sight.
For a deeper dive into decluttering your entire workspace, you can find more great tips for organizing your computer desk.
DIY Cable Management Solutions
Are there any good DIY tricks for cable management? Absolutely, and some of them are surprisingly effective. For a quick fix, you can repurpose large binder clips along the back edge of your desk to guide individual cables where they need to go. Common household Velcro strips are also fantastic; just cut them to size for cheap, reusable cable ties.
Feeling a bit more ambitious? I've even seen people mount a section of a standard rain gutter under their desk to act as a sturdy, homemade cable tray. It works surprisingly well!
Ready to conquer the cable chaos for good? Mount-It! offers a complete range of smart, simple solutions engineered to create a clean, safe, and productive workspace. Explore our full collection of ergonomic and cable management products at https://www.mount-it.com.