


Sizing Up Your Space Like A Pro
Before you even think about picking up a drill, taking a good look at your space is key for a smooth TV mounting experience. I've lost count of how many times I've seen folks choose a spot just because it looks good, only to find out the wall isn't up to the task. That gorgeous accent wall might be eye-catching, but can it actually hold your TV's weight?
First things first, think about your wall construction. Drywall? Concrete? Brick? Something else entirely? Each material needs a different approach, both for locating studs and choosing the right anchors. Also, consider viewing height. Seriously, most people mount their TVs way too high. A good rule of thumb: the center of the screen should be at eye level when you're sitting comfortably. Your neck will thank you later.
Next up, check out your room's natural lighting. Glare can completely wreck your viewing experience, so think about how sunlight hits your chosen wall throughout the day. This might make you rethink your mount and go with a tilting one for better angle adjustments. And don't forget about cable management! Figure out where your cables will run and how you'll hide them before you mount the TV. Believe me, dealing with cables afterwards is a real pain. This desire for a clean setup is driving the TV wall mount market, which was estimated at around USD 2 billion in 2025 and is projected to hit USD 3.5 billion by 2033. That’s a 6.5% annual growth rate, all thanks to the demand for modern, space-saving solutions. Discover more insights into the TV wall mount market. Finally, and I can't stress this enough, measure twice, drill once. Accurate measurements are everything. They'll save you from extra holes in your wall and ensure your TV ends up exactly where you want it.
Picking The Perfect Mount Without The Sales Pitch
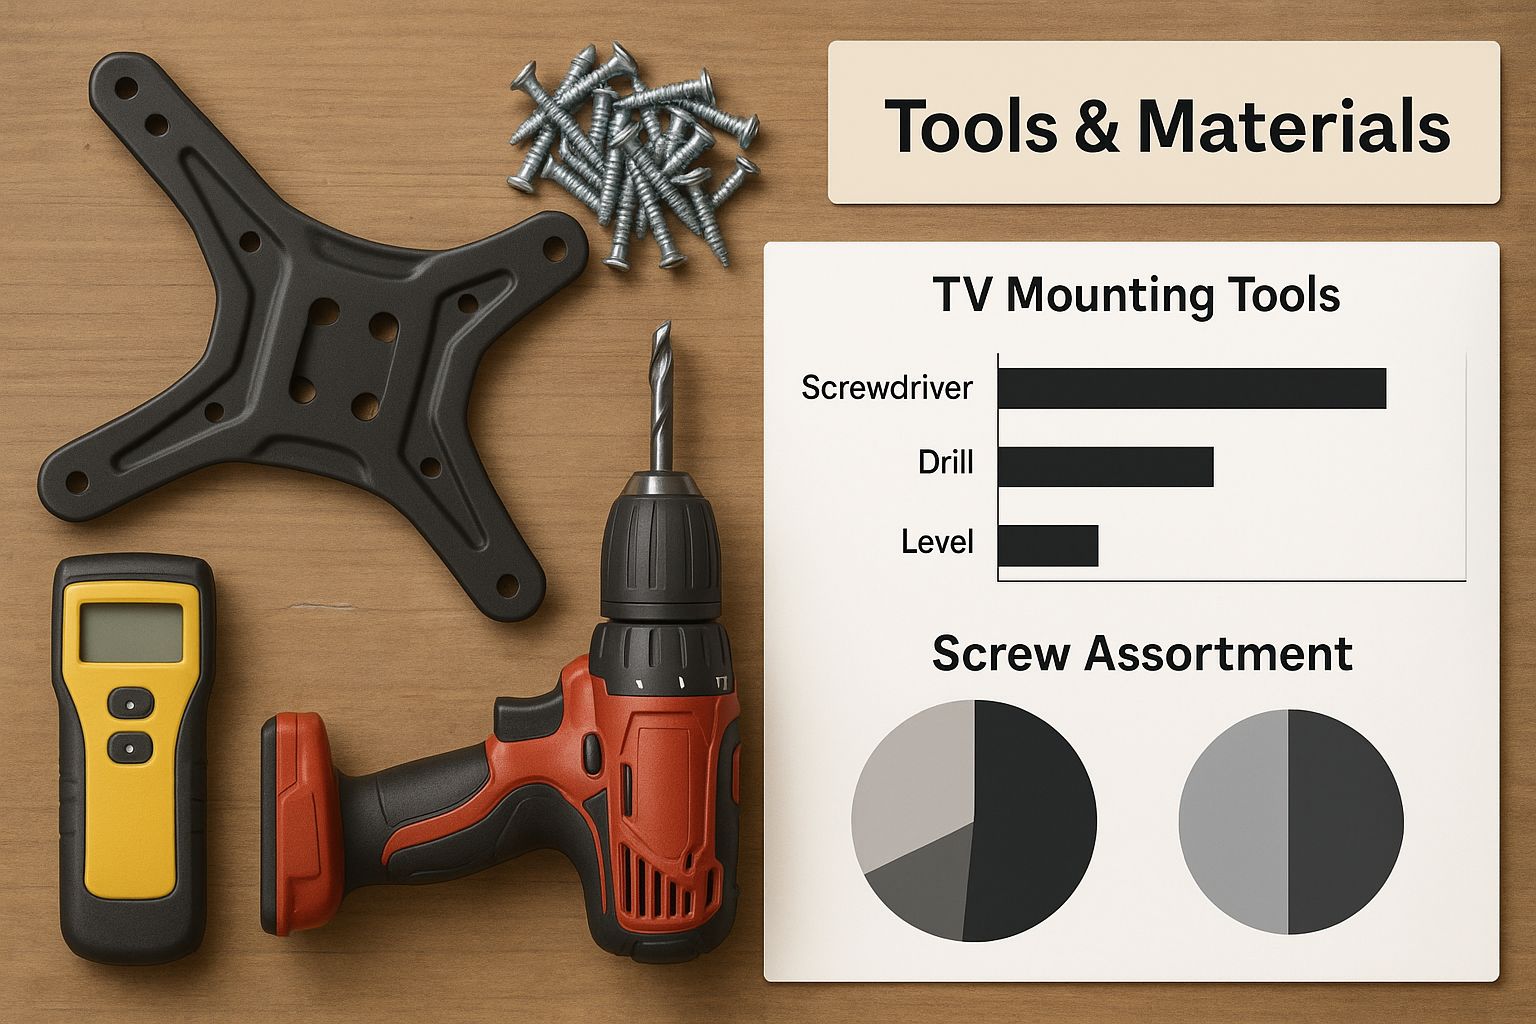
The infographic above gives you a good visual checklist of the tools and materials you'll need. Trust me, having everything ready to go before you start makes the whole process so much smoother. Now, let's dive into picking the right mount. Electronics stores love to upsell you on fancy features, but in my experience (and I've mounted a lot of TVs), the most expensive option isn't always the best.
Weight Capacity Reality Check
First things first: check your TV's weight. Then, double-check the mount’s weight capacity. That 85-inch beauty might seem feather-light in the store, but it's a whole different ballgame once you're trying to wrestle it onto the wall. Overestimating the mount's capacity is a recipe for disaster (and potentially a broken TV). If you're working in a smaller space, mounting your TV can free up valuable real estate. Check out these apartment storage ideas for maximizing your space after you get your TV up on the wall.
VESA Compatibility: The Unsung Hero
Next up is the VESA mounting pattern. Those four holes on the back of your TV? They're more important than you think. This measurement is all about compatibility. A mismatch means your mount won’t fit, period. No amount of finagling will change that. Need help figuring out your VESA size? Check out our guide on picking a TV wall mount – it's a lifesaver.
Fixed, Tilting, or Full-Motion: Finding The Right Fit
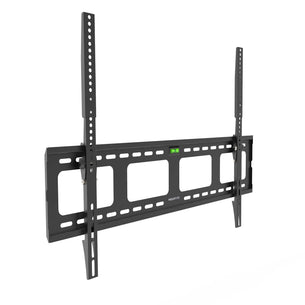
Finally, consider what type of mount you actually need. A fixed mount is perfect if you're sitting directly in front of the TV and want a clean, flush look. A tilting mount helps reduce glare, especially handy if your room gets a lot of natural light (or you have those annoying overhead lights). And a full-motion mount? Maximum flexibility. Swing that TV out, swivel it around, it's a party! But, they usually come with a higher price tag. So, think about your viewing habits and room layout. Don't fall for the marketing hype – choose what works best for you.
To help you visualize the differences, I've put together this handy comparison table:
TV Mount Types Comparison Guide Compare fixed, tilting, and full-motion mounts across key factors like price, complexity, and best use cases
| Mount Type | Price Range | Installation Difficulty | Best For | Weight Capacity |
|---|---|---|---|---|
| Fixed | $20 - $50 | Easy | Direct viewing, maximizing space | Up to 175 lbs (depending on the model) |
| Tilting | $30 - $80 | Medium | Reducing glare, slightly off-center viewing | Up to 150 lbs (depending on the model) |
| Full-Motion | $50 - $200+ | Medium to Hard | Maximum flexibility, multiple viewing angles | Up to 100 lbs (depending on the model) |
As you can see, each mount type has its own strengths. While full-motion mounts offer the most versatility, they can be more complex to install. Fixed mounts are the simplest and often the most affordable, but they lack adjustability. Tilting mounts offer a nice middle ground, providing some glare reduction without the complexity of a full-motion mount. Choosing the right type comes down to your individual needs and preferences.
Finding Studs When They're Playing Hide And Seek
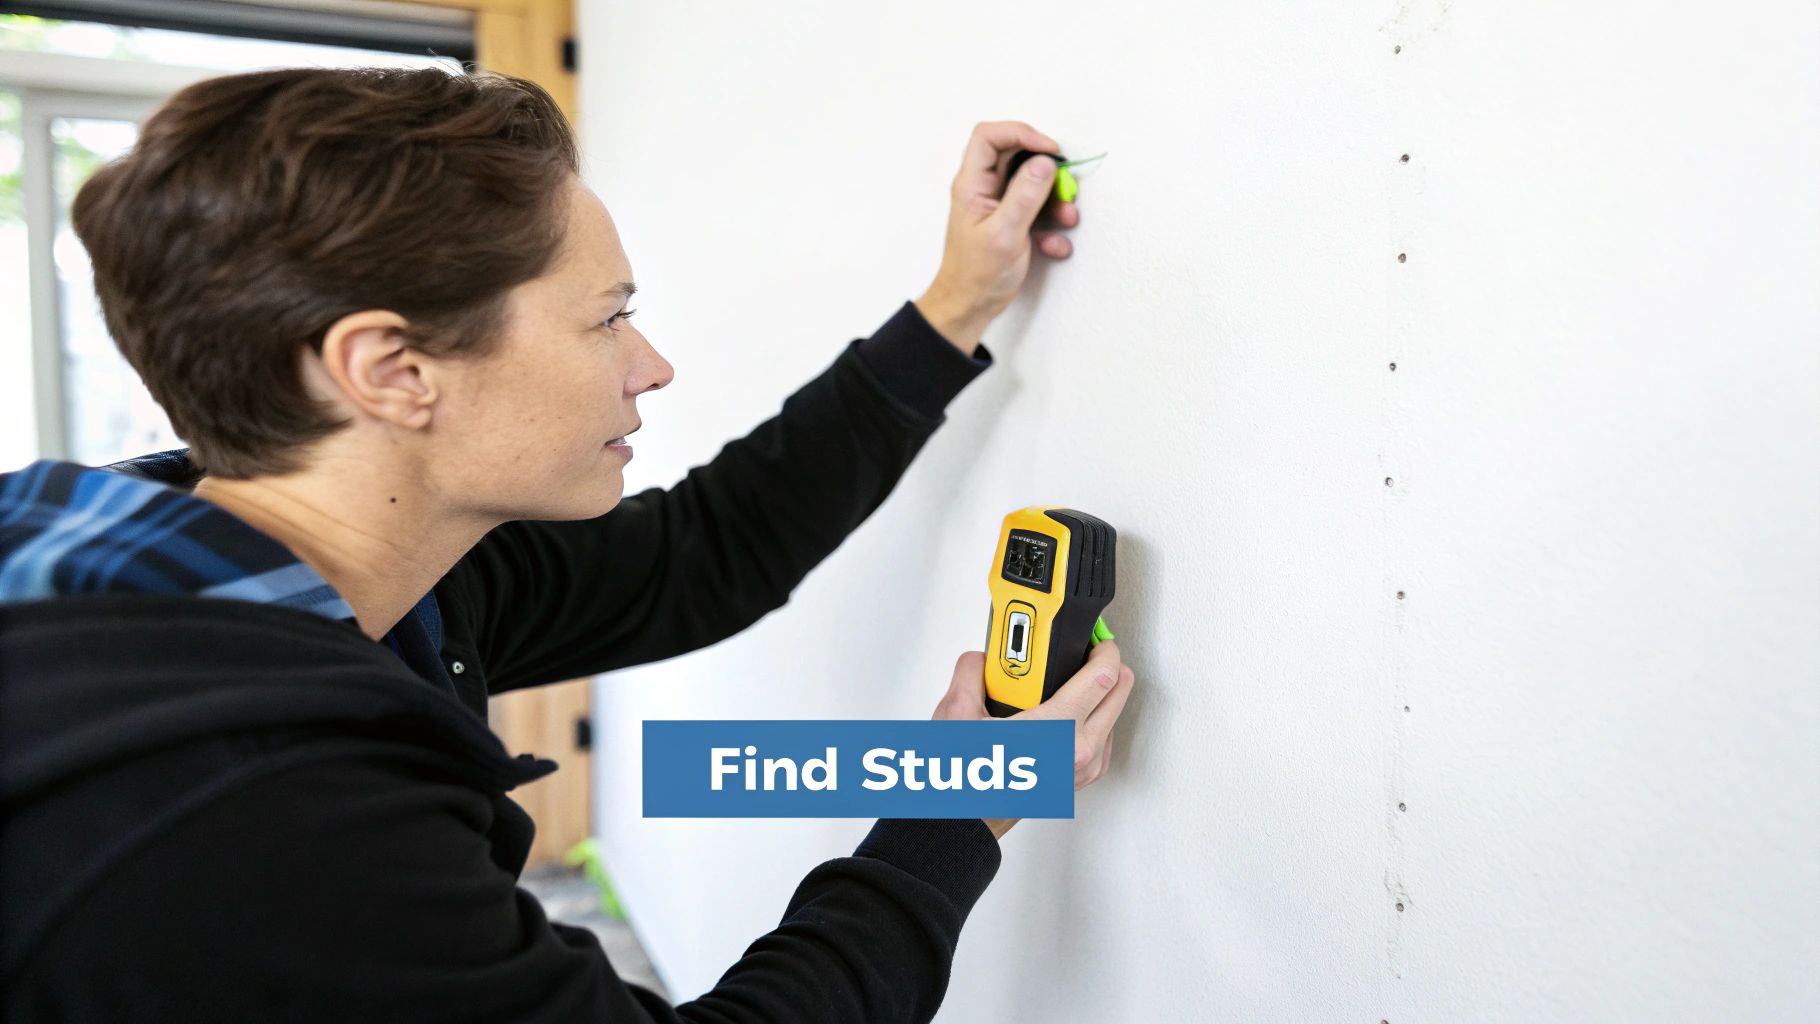
This is where so many TV mounting projects go south. That electronic stud finder can be tricky. It might beep, sure, but are you on a solid stud or just grazing the edge? Trusting that beep without a second check is a rookie move. A wobbly TV is the best outcome if you've only caught the edge.
Verifying Your Stud Finder's Story
So, how do you double-check your stud finder? Most studs are 16 inches apart, center to center. Once your finder beeps, measure 16 inches to either side. If it beeps again at those points, you're likely in the clear. But older homes or unusual construction can throw this off, so don't rely on this method alone.
The Tap Test: A Classic For A Reason
Try the tap test. Lightly tap the wall with your knuckle. A hollow sound? No stud. A solid thud? You've found your mark. It's surprisingly effective. I've mounted TVs in tons of houses, and this simple trick has never let me down. Pair it with your stud finder for extra confidence.
Dealing With Metal Studs and Other Quirks
Metal studs can throw off electronic finders. A strong magnet can help you track them down. What if your studs are weirdly spaced or just not where you need them? Don't worry! There are always options, even if that means skipping the studs altogether. Check out our article on how to mount a tv on the wall without studs. Sometimes, a slightly different TV location is worth it for a secure mount. A rock-solid mount is the most important thing for a safe TV installation. The goal is to mount that TV securely, even if you have to tweak your ideal spot. With these tips, you’ll be a stud-finding pro, no matter what your walls throw at you.
Drilling Without The Drama
Before we even think about drilling, let's make sure you've got enough clearance in your space. Think about how people move around the room – you don't want anyone bumping into the TV! A simple check like the Wall Toss Test can help you assess the area.
Now, I know what you're thinking: drilling holes is the scariest part. And I get it, but trust me, with a little know-how, it's honestly the easiest part of this whole project. I'll walk you through my process and share some insider tips to prevent any costly slip-ups.
Marking Your Holes With Confidence
First things first, ditch the level app on your phone. Sure, they're handy, but I've found they're not always reliable. For this job, a good old-fashioned bubble level is your best friend. Much more accurate. Position your mount, make sure it's perfectly level, and then use a sharp pencil to mark your drill points directly through the mounting holes. Double-check your level again after marking – just to be absolutely certain.
Choosing The Right Drill Bit
This is important: the drill bit you choose makes a world of difference. For wood studs, a standard wood bit is perfect. But if you're dealing with concrete or brick, you'll need a masonry bit. Check the packaging – it'll usually tell you what materials it's designed for. One pro tip I've learned over the years: drilling a slightly smaller pilot hole first can prevent cracking, especially in older homes with plaster walls.
Driving Screws Like A Pro
When it comes to driving in the screws, you want to avoid stripping the heads or cracking the wood. My go-to is a drill with adjustable clutch settings. Start with a lower torque setting and gradually increase it until the screw goes in smoothly and firmly. This prevents over-tightening, which can be a real headache. Concerned about your TV's tilt? Check out our guide on how much to tilt your wall-mounted TV. And, another crucial point: if you hit something unexpected like a pipe or wire, stop immediately! Seriously. Reassess your mounting location or get a professional to take a look.
The Finishing Touches
Finally, it's all about the details. After you’ve mounted the bracket, make absolutely sure your TV sits flush against the wall. Even if it’s slightly off, those small adjustments are what separate a good job from a great one. A wonky TV, even just a little bit, can be surprisingly annoying over time! Trust me on this. Now, step back and admire your work! Your TV is securely mounted and ready for movie night.
Why Your Location Matters More Than You Think
Mounting a TV seems pretty straightforward, right? Well, from my experience, your location actually plays a surprisingly big role. Think about it: older homes in the Northeast, for instance, often have plaster walls and quirky stud spacing. Trying to find a solid anchor point in those walls can be a real headache. A magnetic stud finder becomes your best friend in these situations!
I've also learned that even the climate can affect your mounting decisions. In humid coastal areas, moisture can wreak havoc on wall materials over time. So, a robust, corrosion-resistant mount is key for long-term stability. Speaking of helpful resources, I found this guide super useful when figuring out the ideal viewing height: How high should I mount my TV?
Regional differences aren’t just about construction, either. They influence what's stocked at your local stores. Live in an earthquake-prone area? You’ll probably find a bigger selection of heavy-duty, anti-tip mounts. This regional demand usually means better availability and potentially lower prices.
North America, by the way, is a huge market for TV wall mounts. With the popularity of big-screen TVs and smart home gadgets, the market hit about USD 1.2 billion in 2023. And it’s expected to keep growing thanks to ongoing innovation. Here’s a deeper dive if you’re interested: Discover more insights into the TV wall mount market. Understanding your local market can be a real time-saver (and money-saver). It helps you choose readily available, regionally appropriate products. This way, you can ditch the generic advice and focus on what’s best for your home.
Making Those Cables Disappear
So, you’ve got your TV mounted – awesome! But now you’re facing that inevitable tangle of wires. Don't sweat it, hiding them doesn’t have to be a major project. A clean cable setup is that finishing touch that really makes your mounted TV look professionally installed.
Planning Your Cable Routes Strategically
Before you even think about grabbing a screwdriver for the mount, take a minute to visualize your cable routes. Are the components going directly below the TV? Or will the cables need to run through the wall to another outlet? Trust me, a little pre-planning prevents a lot of headaches later. I learned this the hard way after a particularly frustrating mounting experience. Check out this article on how to hide those ugly TV wires for some pro tips.
Not All Cables Are Created Equal
You’ll quickly notice that some cables, like HDMI cables, are quite flexible. Others, like power cords, are much stiffer and harder to manage. Knowing what you’re working with is key. Trying to cram a rigid power cord into a tight space will just create an unsightly bulge – definitely not the look we’re going for.
Concealing Cables Like A Pro
Thankfully, there are a ton of cable management solutions out there. Everything from simple cable ties and adhesive clips to more complex in-wall systems and cable covers. Choose the option that best suits your budget and DIY skills. Over the years, I’ve used everything from basic zip ties to those fancy in-wall kits. Honestly, even the simple solutions can make a huge difference.
Speaking of which, let's talk about some specific cable management solutions. I've put together a handy comparison table to help you choose the best method for your setup:
Cable Management Solutions Comparison
| Solution | Cost | Installation Time | Visibility | Flexibility |
|---|---|---|---|---|
| Cable Ties & Adhesive Clips | Low | Quick & Easy | Can be visible if not carefully routed | High |
| Cable Covers (Plastic/Fabric) | Moderate | Easy | Minimal | Moderate |
| In-Wall Cable Management System | High | More Complex | Completely Hidden | Low (requires pre-planning) |
| Wireless HDMI Extender | High | Moderate | None (for video signal) | Moderate |
The table above highlights the pros and cons of each method. While in-wall systems offer the cleanest look, they require more upfront planning and effort. For a quick and easy fix, cable ties and adhesive clips are your best bet. Wireless solutions, while pricier, offer the ultimate in cable freedom, especially for video signals. Choose wisely!
Easy Access for Future Upgrades
One last thing: think about the future! You'll almost certainly upgrade your components down the line. Make sure you can easily access the cables without having to dismantle your entire setup. Leaving a little extra slack in the cable runs is a simple but effective trick. This little bit of foresight has saved me countless hours of frustration over the years. With a bit of planning, you can create a clean, professional-looking installation that’s ready for any future upgrades.
Your Mount Success Roadmap
After all that prep work and planning, it's finally time to mount your TV! This is where it all comes together. Based on my own experience (and a few lessons learned along the way), I've put together a practical guide to get your TV securely on the wall and looking its best.
The Pre-Mount Checklist: Setting Yourself Up For Success
Before you even think about grabbing the TV, take a few minutes to double-check these essentials:
- Wall Type Confirmed: Make absolutely sure you've got the right anchors and mounting hardware for your wall. Drywall, concrete, and brick each require a different approach. Using the wrong anchors is like building a house on sand – not a good idea.
- Stud Location Verified: Your stud finder is a good starting point, but don't rely on it completely. Use the tap test (a gentle knock will sound solid on a stud) and remember the 16-inch rule (studs are usually spaced 16 inches apart). A secure mount needs to be anchored to solid wood.
- Cables Organized: Nothing screams "DIY disaster" like a tangled mess of cables behind your TV. Whether you're running cables through the wall, using cable covers, or just bundling them with zip ties, get them organized now. Trust me, you’ll thank yourself later.
- Mount Assembled and Ready: Lay out your pre-assembled mount and all the necessary tools nearby. There's nothing worse than having to stop mid-project to hunt for a missing screw.
Mounting Your TV: Taking Action
Okay, now for the main event. Here’s how to mount your TV without any drama:
- Position and Level: Carefully position the mount on the wall. Use a real bubble level (not a phone app – those can be unreliable) to ensure it's perfectly straight. Even a tiny tilt will drive you crazy over time.
- Mark and Drill: Once the mount is perfectly positioned, mark your drill points directly through the mount’s holes. Use the correct drill bit for your wall type and drill your pilot holes. Remember, slow and steady prevents mistakes.
- Anchor and Secure: Insert the anchors and then firmly secure the mount to the wall. If your drill has a clutch setting, use it to avoid over-tightening and damaging your wall.
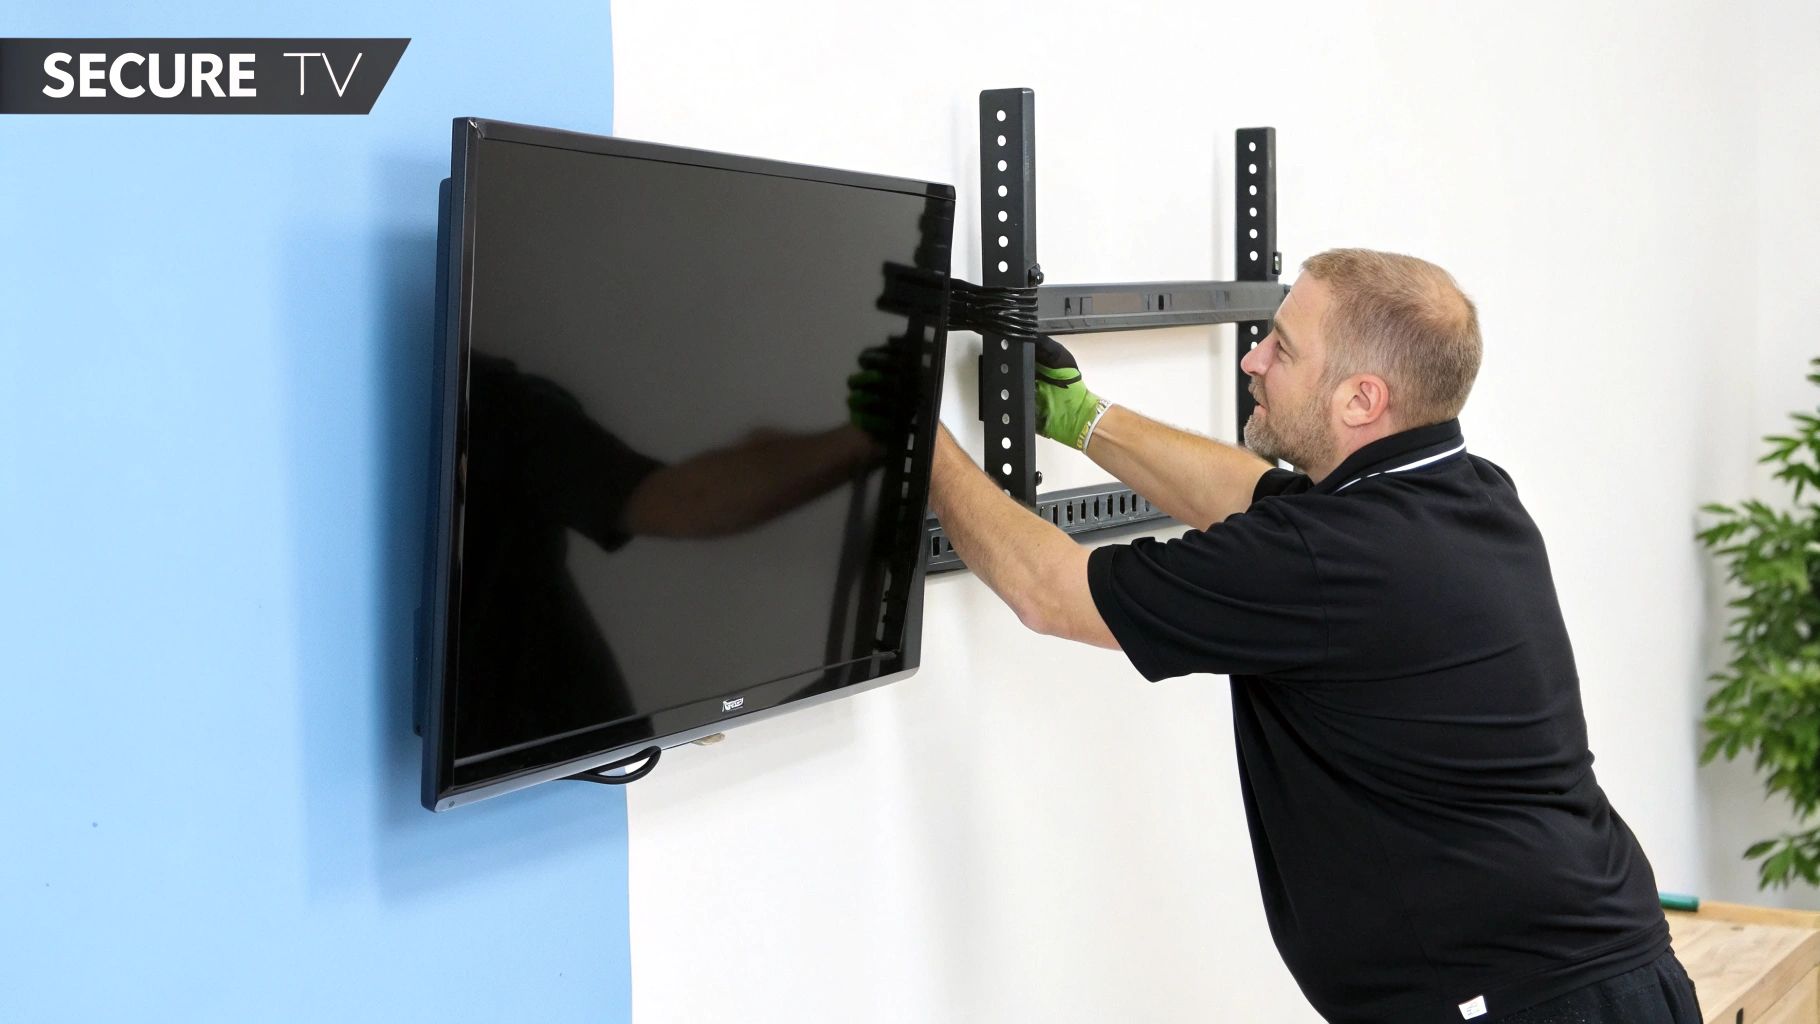
- Attach the TV: This is usually easier with two people. Carefully lift the TV (remember to lift with your legs, not your back!) and align it with the mounting bracket. Follow the mount’s instructions to attach the TV securely. That satisfying click when it locks in place? Music to my ears!
The Final Touches and Long-Term Care
Admire your handiwork! Your TV is up, but there are a few final things to do.
- Cable Management Refinement: Tuck away any stray cables and make sure everything looks neat. This final touch makes a big difference.
- Final Position Adjustments: Now’s the time for any final adjustments. Is it perfectly level? Does it tilt correctly (if your mount allows for tilting)? Get it just right before you settle in for movie night.
- Ongoing Maintenance: Once in a while, check the mount's screws and anchors to make sure everything is still tight. This little bit of maintenance can prevent big problems down the road.
Mounting a TV might seem like a big job, but with a little planning and these practical tips, it's totally doable. And hey, if you’re still not comfortable tackling it yourself, don’t hesitate to call a professional. Sometimes, peace of mind is worth it.
Ready to find the perfect mount? Mount-It! has a great selection of high-quality mounting solutions for any TV and any wall.